Key Takeaways
- Google Maps Timeline tracks travel details like mileage and stops for insight into travel habits.
- New controls and tools in the update enhance editing and deleting timeline data in Google Maps.
- To use Google Maps Timeline, ensure location data is enabled and follow specific steps based on device.
Google Maps is more than a simple navigation tool. Beyond the app’s turn-by-turn directions and reviews of local businesses is a feature called Timeline. The Google Maps Timeline is a tool that tracks where you’ve been, including details like how many miles you traveled, what other stops you made , or even whether you walked, drove, or took public transit. In short, it’s a complete comprehensive summary of your activity.
The Google Maps Timeline tool serves as a sort of digital travel log, allowing you to reminisce and even gain insight into your travel habits or view a full list of the countries you’ve visited. The automatic tracking based on your device’s location can also be a helpful tool for tracking your mileage as a tax write-off. However, Google states that the Timeline is only an estimate, which means it may not be as accurate or convenient as apps that are designed specifically for mileage tracking. Still, the free tool offers several features to track data on how you travel.
Formerly called Location History, a recent update has brought several new controls and data tools to Google Maps Timeline. While the update is removing the tool from computers, it brings more tools for editing and deleting your data inside Google Maps. The Google Maps Timeline is available on both Android and iOS devices.
Google / Pocket-lint
How to turn on location history on Google Maps
Google Maps’ Timeline feature won’t work unless you’ve given the app permission to track and save your location data. If, after opening Google Maps for the first time, you limit the app’s access to your data, then it won’t have any timeline data saved.
The process for adjusting your location settings varies slightly based on what device you are using.
Turning on Google Maps Timeline on Android
- Open the Google Maps app.
- Tap your profile picture, then select Your Timeline.
- Tap the more menu, then select Settings & Privacy.
- Scroll to Location Settings, then make sure it says Location is on. If it doesn’t say this, tap Location is off to adjust this setting.
If you change your mind about sharing your location with Google, you can go into the settings and change it any time. Follow the steps above, only instead of Location is on, tap to adjust to Location is Off.
Turning on Google Maps Timeline on iOS
- Open the Google Maps app on your iPhone or iPad.
- Tap your profile picture, then select Your Timeline.
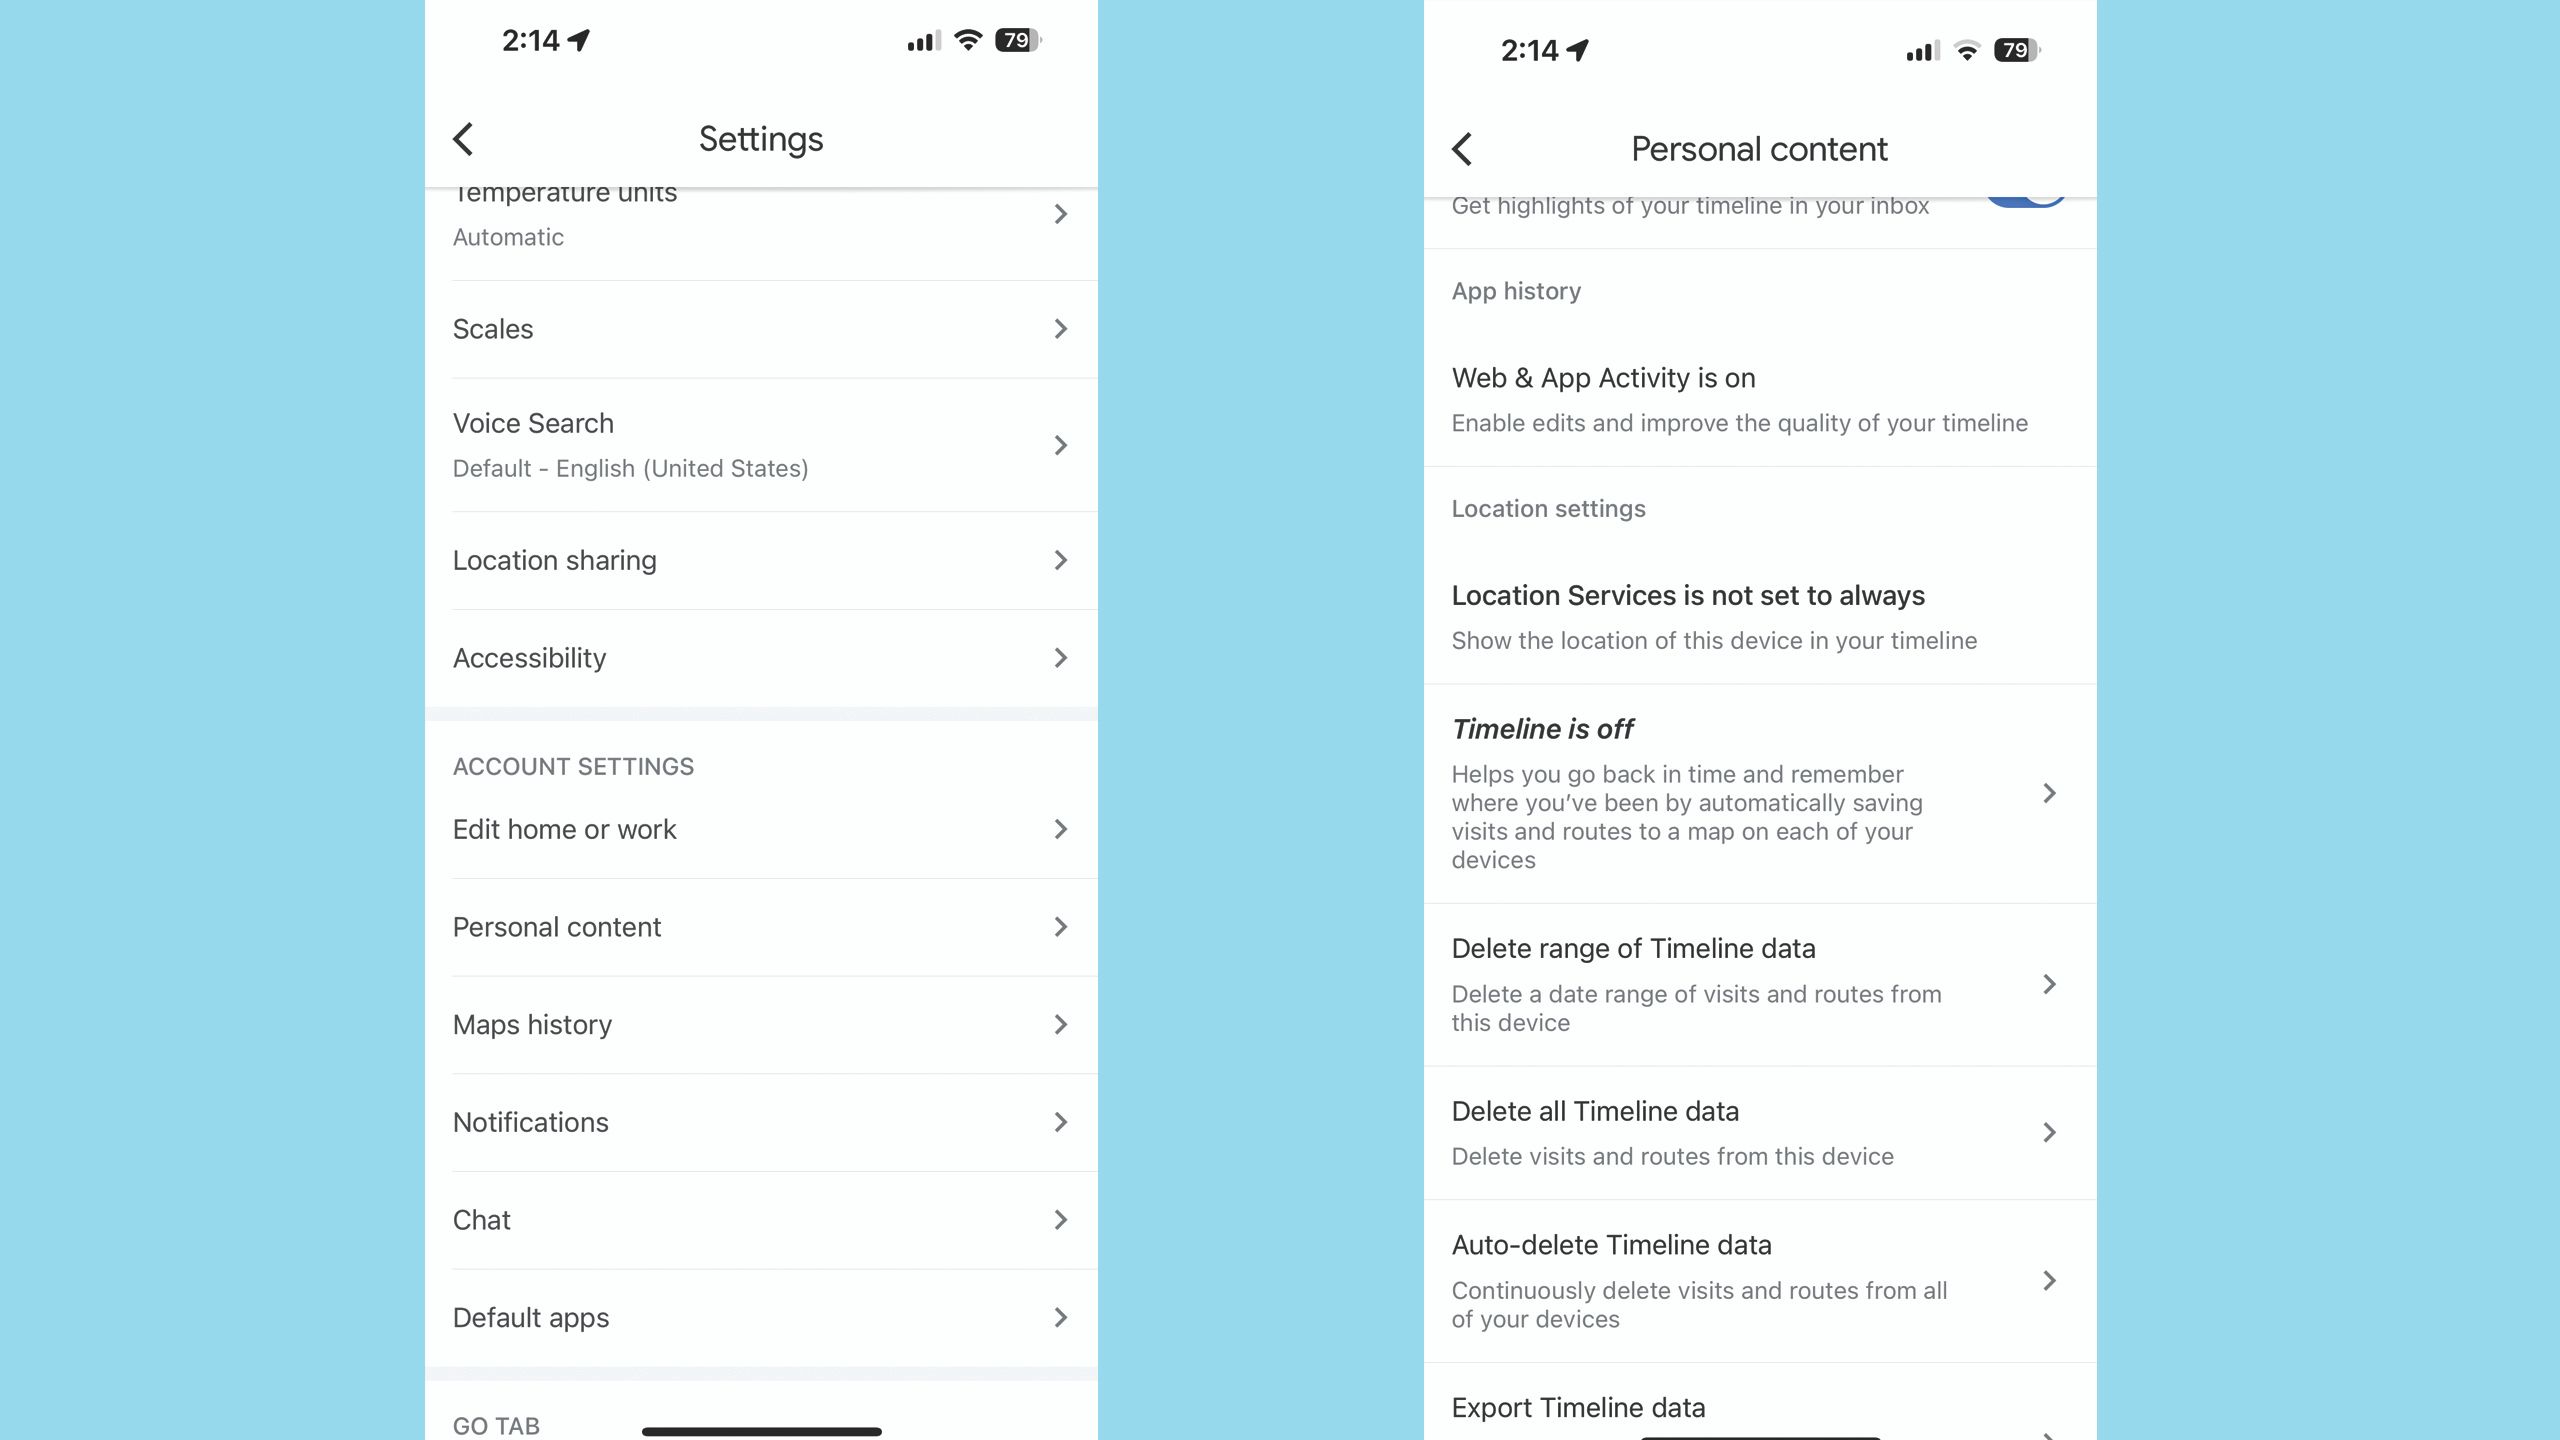
- Select Personal Content, then scroll to the Location Settings options.
- Ensure that the Location settings says Location Service is on. If not, tap on Location Service.
- This opens up the Settings app on your iPhone for the Google Maps app permissions. Adjust the location setting to Always.
Like with Android, you can turn off location sharing at any time to stop recording details to Timeline. Follow the same steps above, only at step five, adjust the location to Never, ask next time, or while using the app, based on your preferences.
Google / Pocket-lint
How to see your Google Maps Timeline
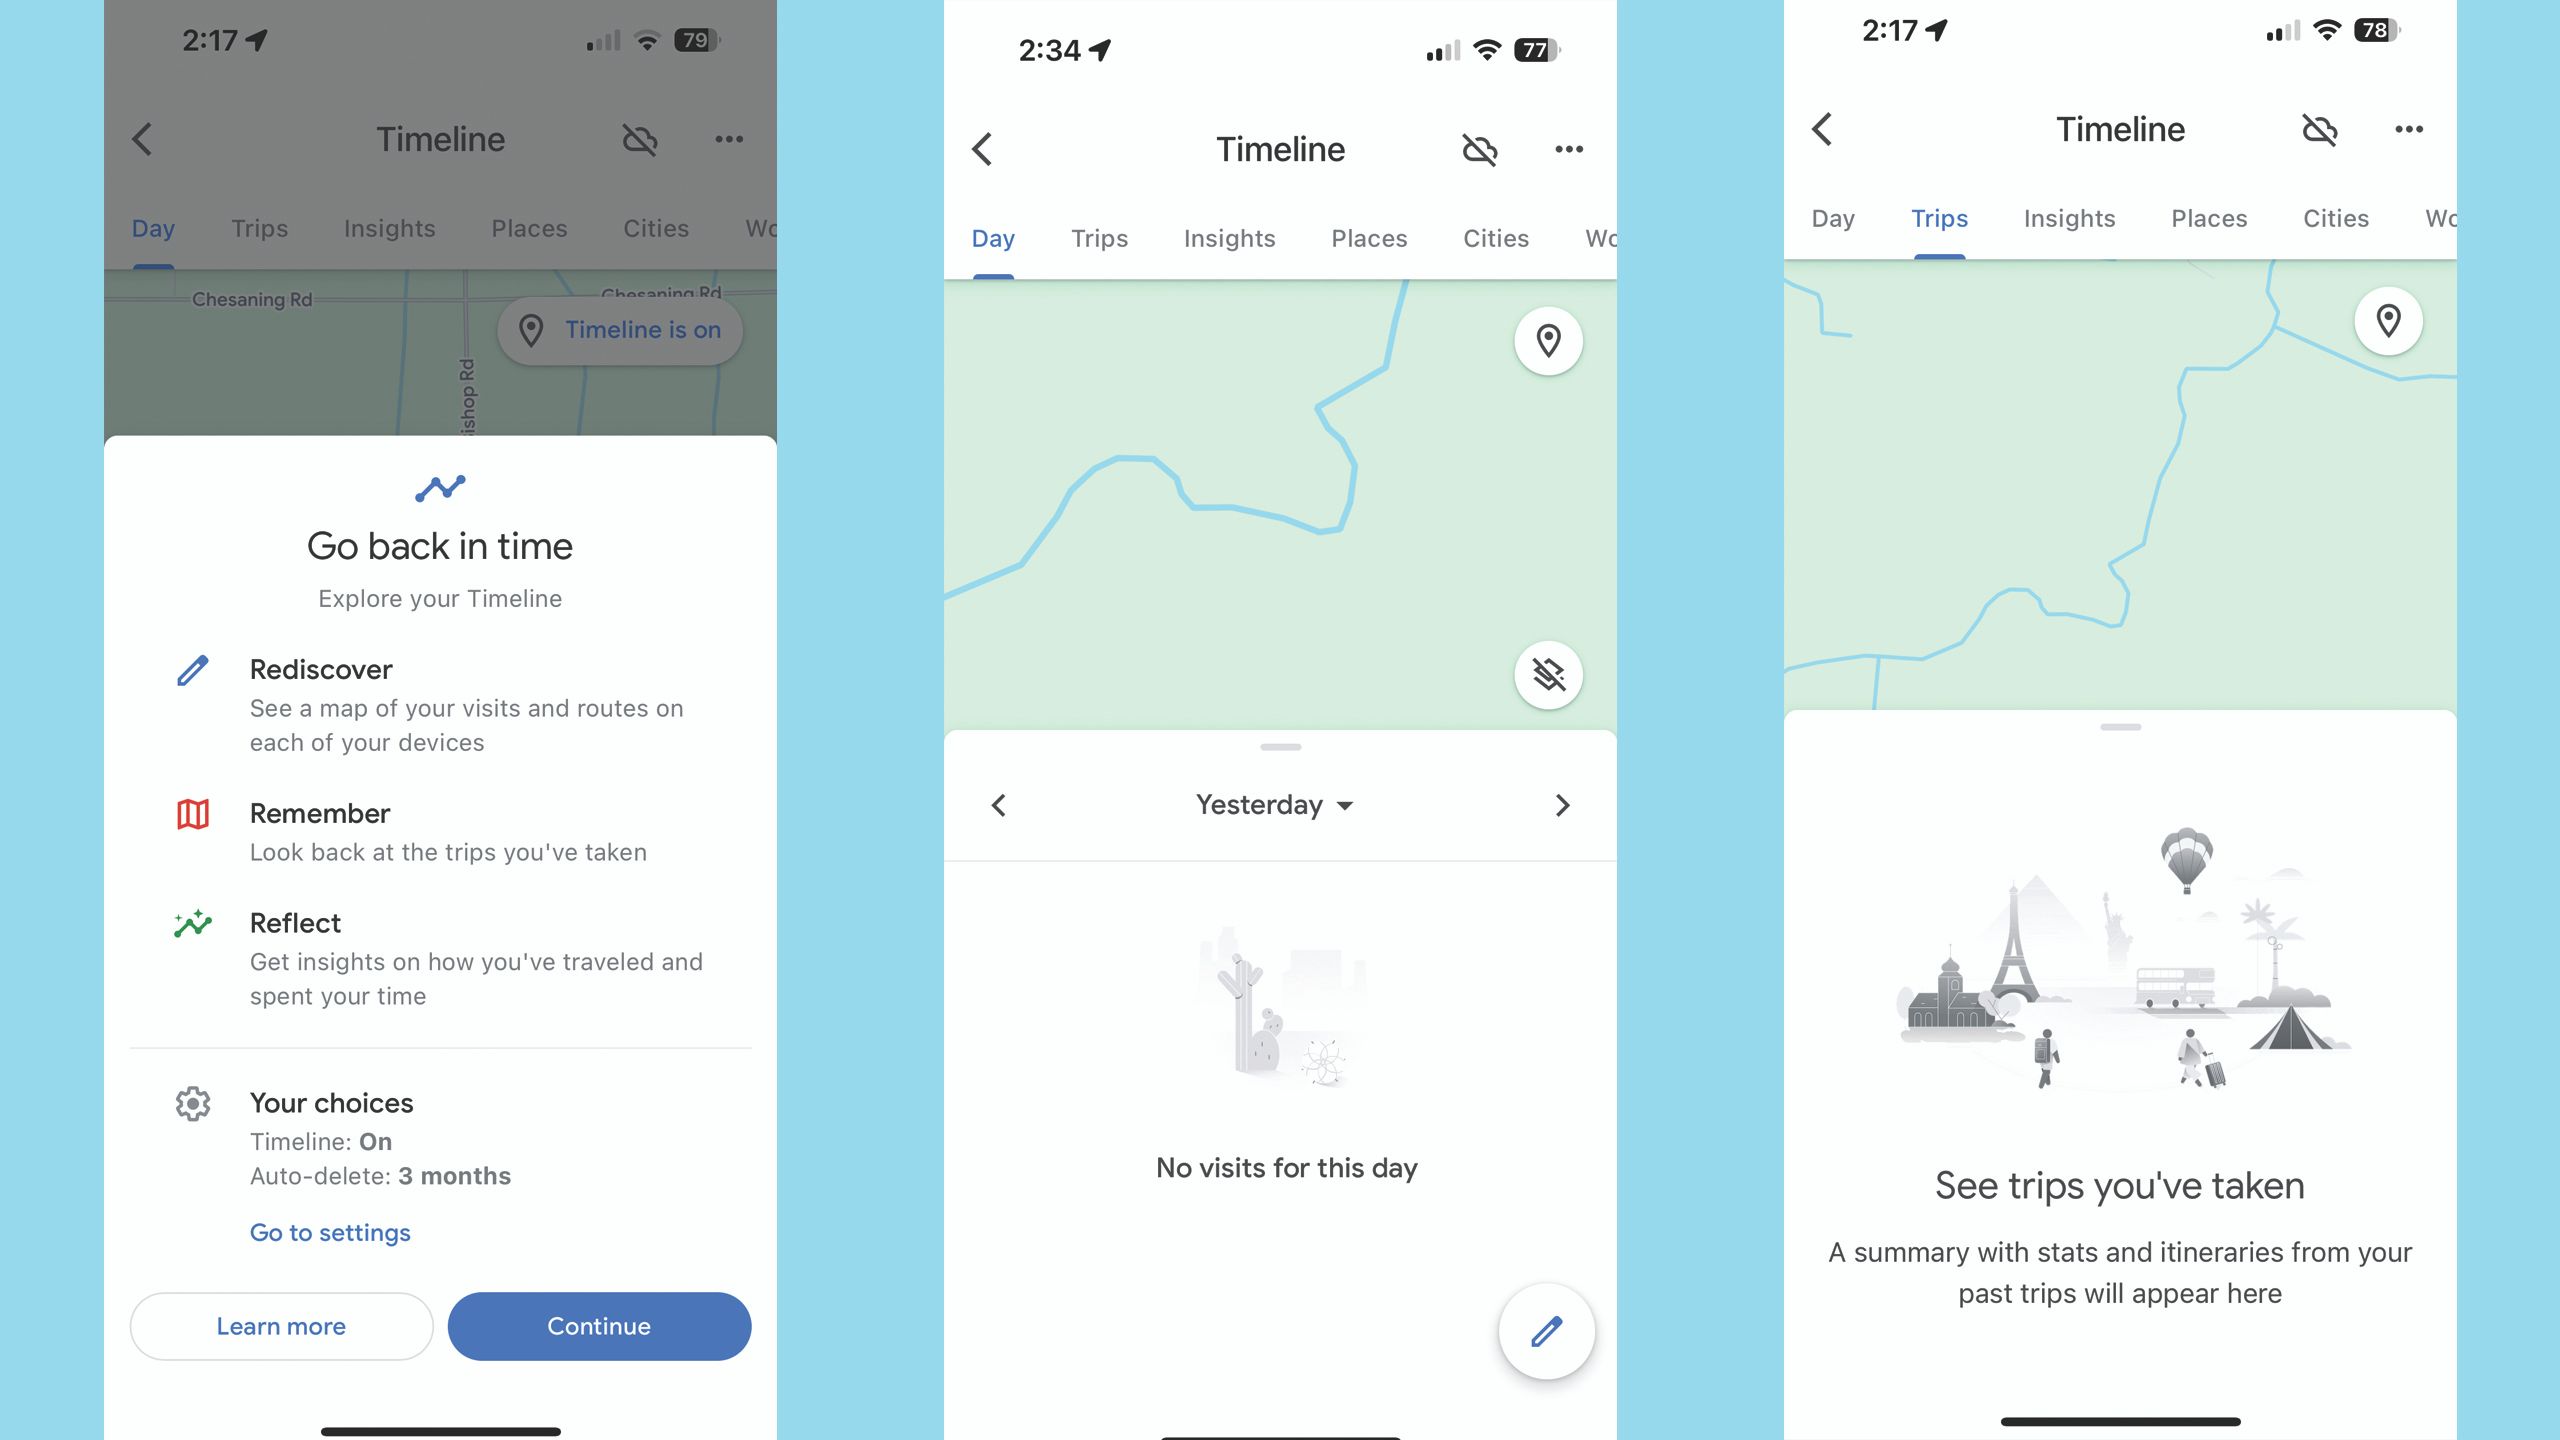
Once you’ve turned on location settings and taken a few trips, your Google Maps Timeline will begin to populate with places that you’ve been, allowing you to look back on past trips or gain insight into your driving habits.
While the process for turning on the Google Maps Timeline is slightly different between Android and iOS, accessing your data follows a similar process, no matter which mobile device you are on.
- Open the Google Maps app.
- Tap on your profile photo (or your initial, if you haven’t set a profile picture).
- Select Your Timeline.
- In the Day tab, use the arrows to navigate to a different day, or tap “today” and then select the desired day on the map. Or, navigate to the Trips, Insights, Places, Cities, or World tabs to see your past data.
Google / Pocket-lint
How to delete your Google Maps locations
While there are many potential uses for the Google Maps Timeline, sharing your location can introduce privacy risks. Google offers users two options to delete their previous location data. The first is to manually delete a selected date or all location history. The second option is to have Google automatically delete all location history after a pre-selected time frame.
How to manually delete your Google Timeline data
Google / Pocket-lint
- Open the Google Maps app.
- Tap your profile photo (if you haven’t uploaded one, your initial appears here instead).
- Select Your Timeline.
- Tap the … menu.
- Select Settings on iOS, or Settings and Privacy on Android.
- Scroll down to Location settings.
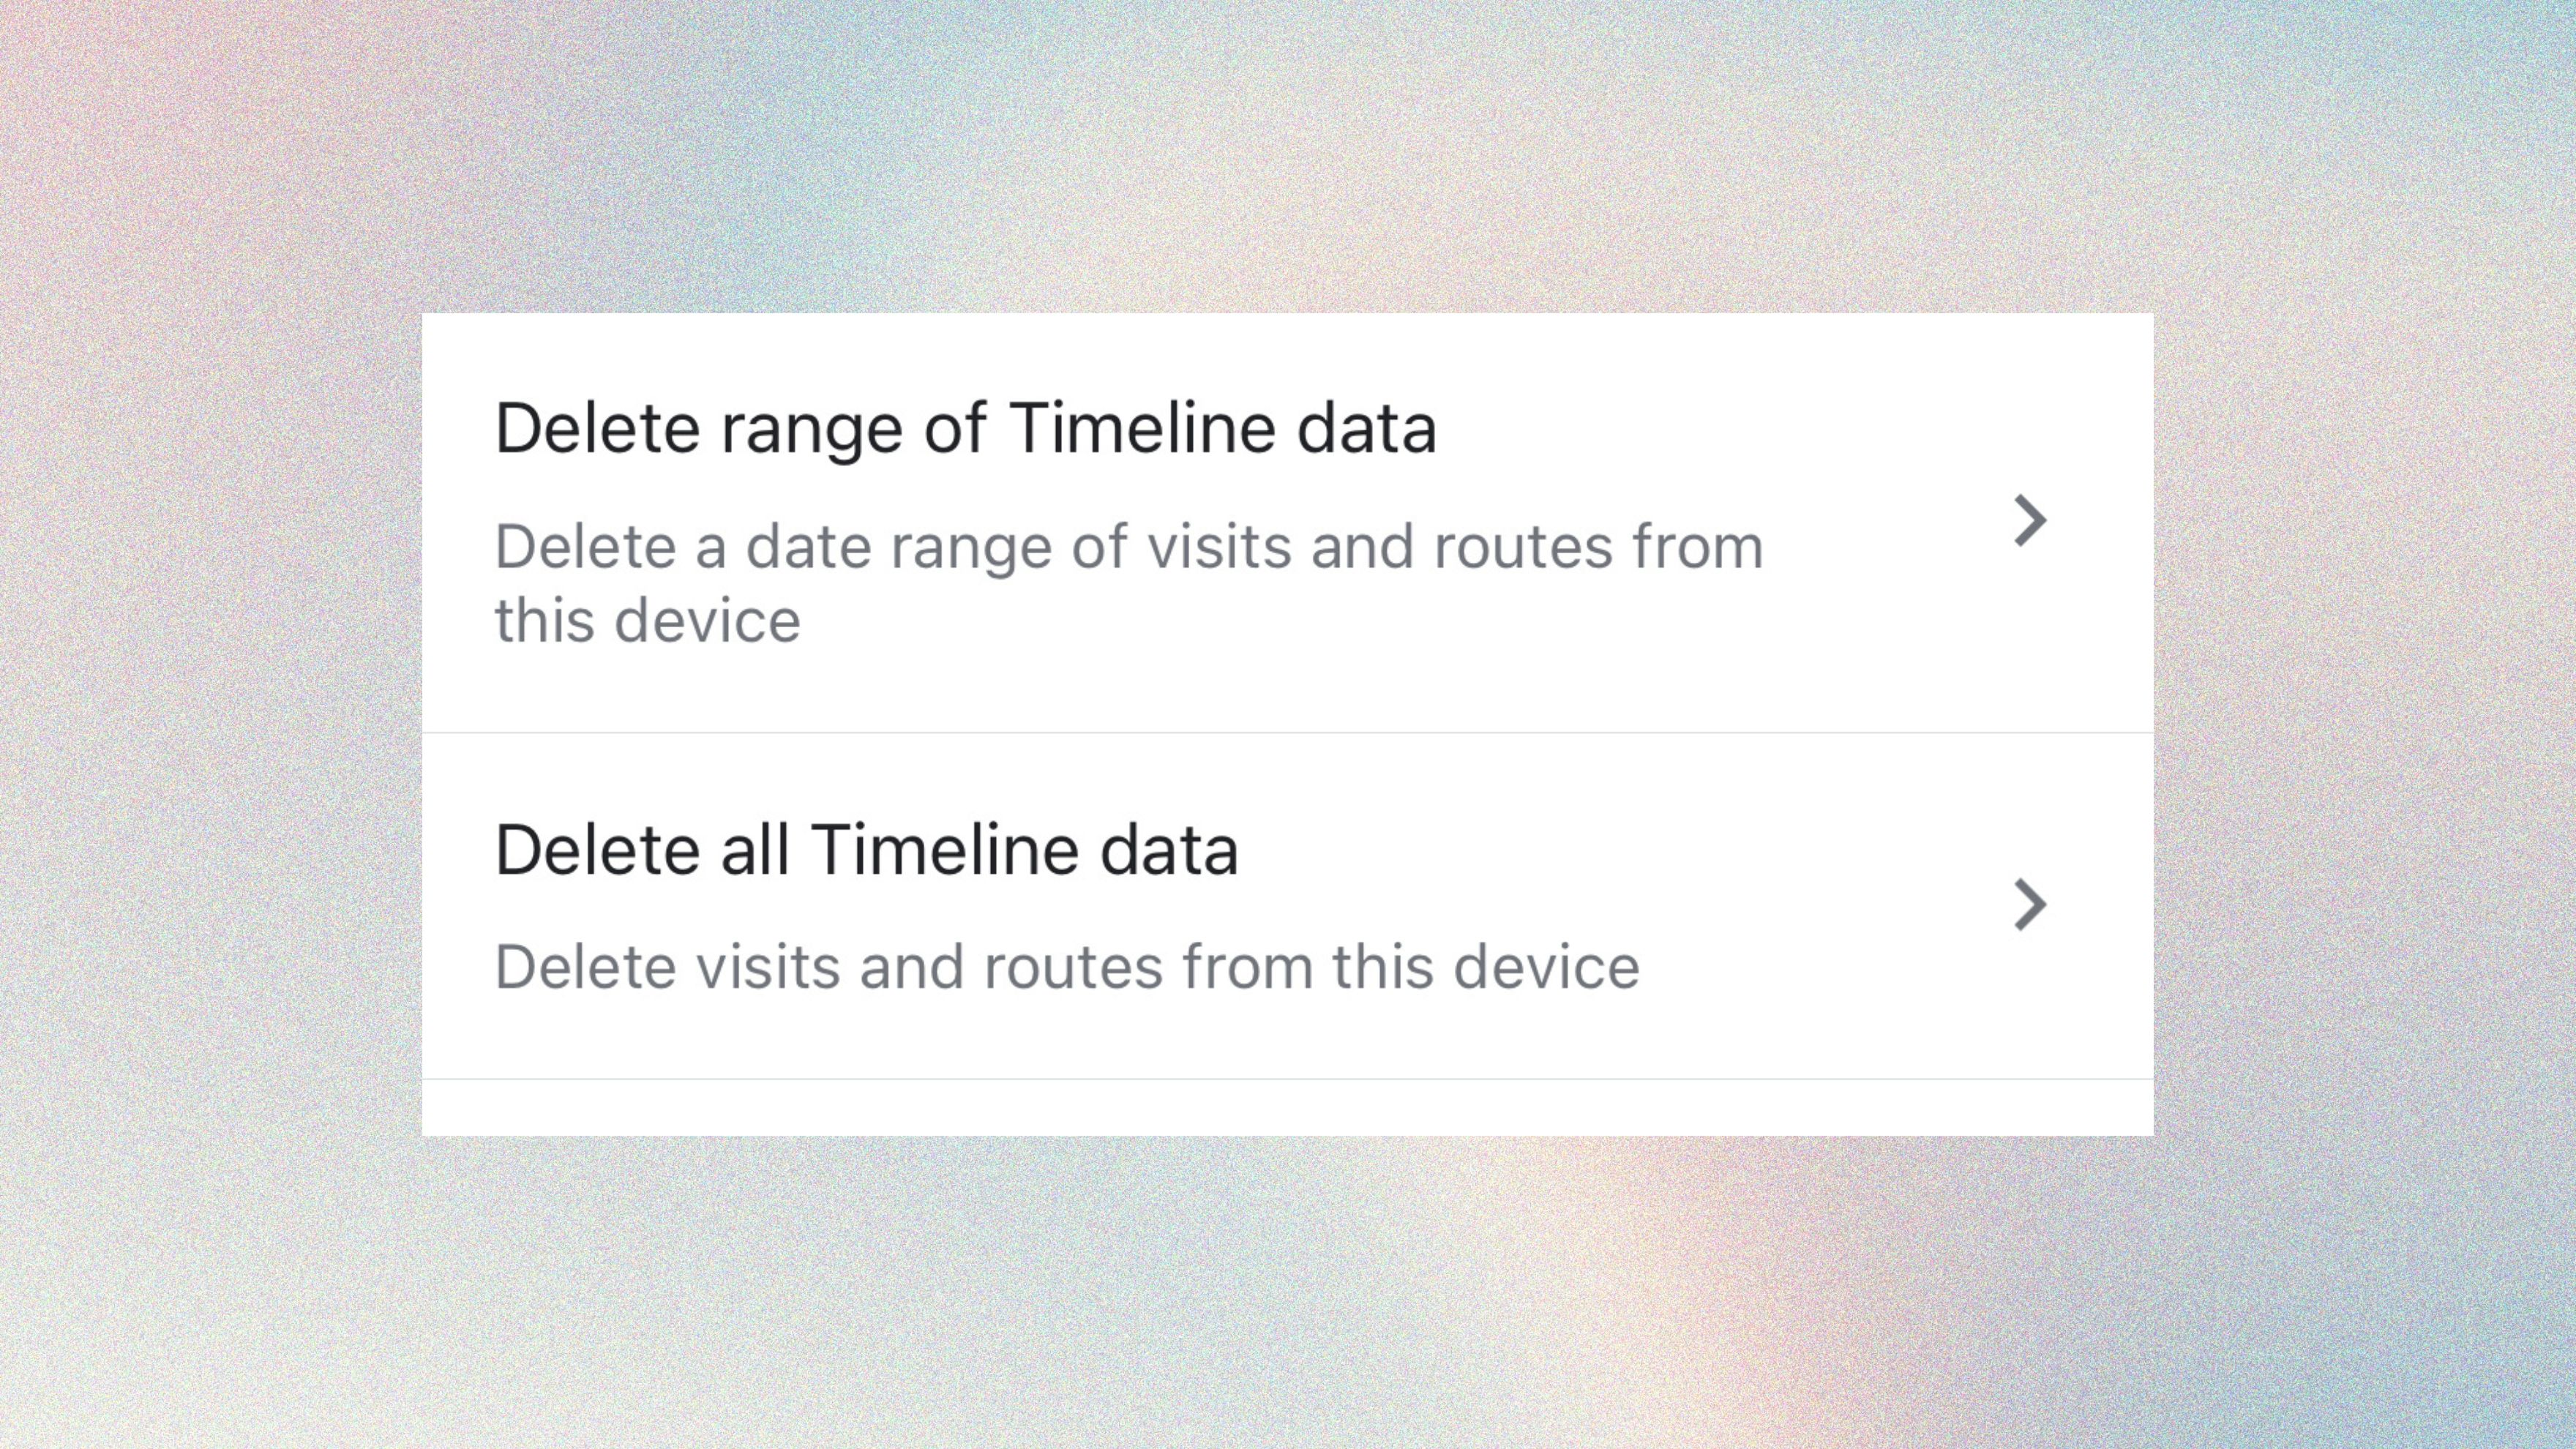
- Select Delete everything to remove all data, or select Delete some of your history, then select a date range to remove only some dates.
How to automatically delete your Google Timeline data
Google / Pocket-lint
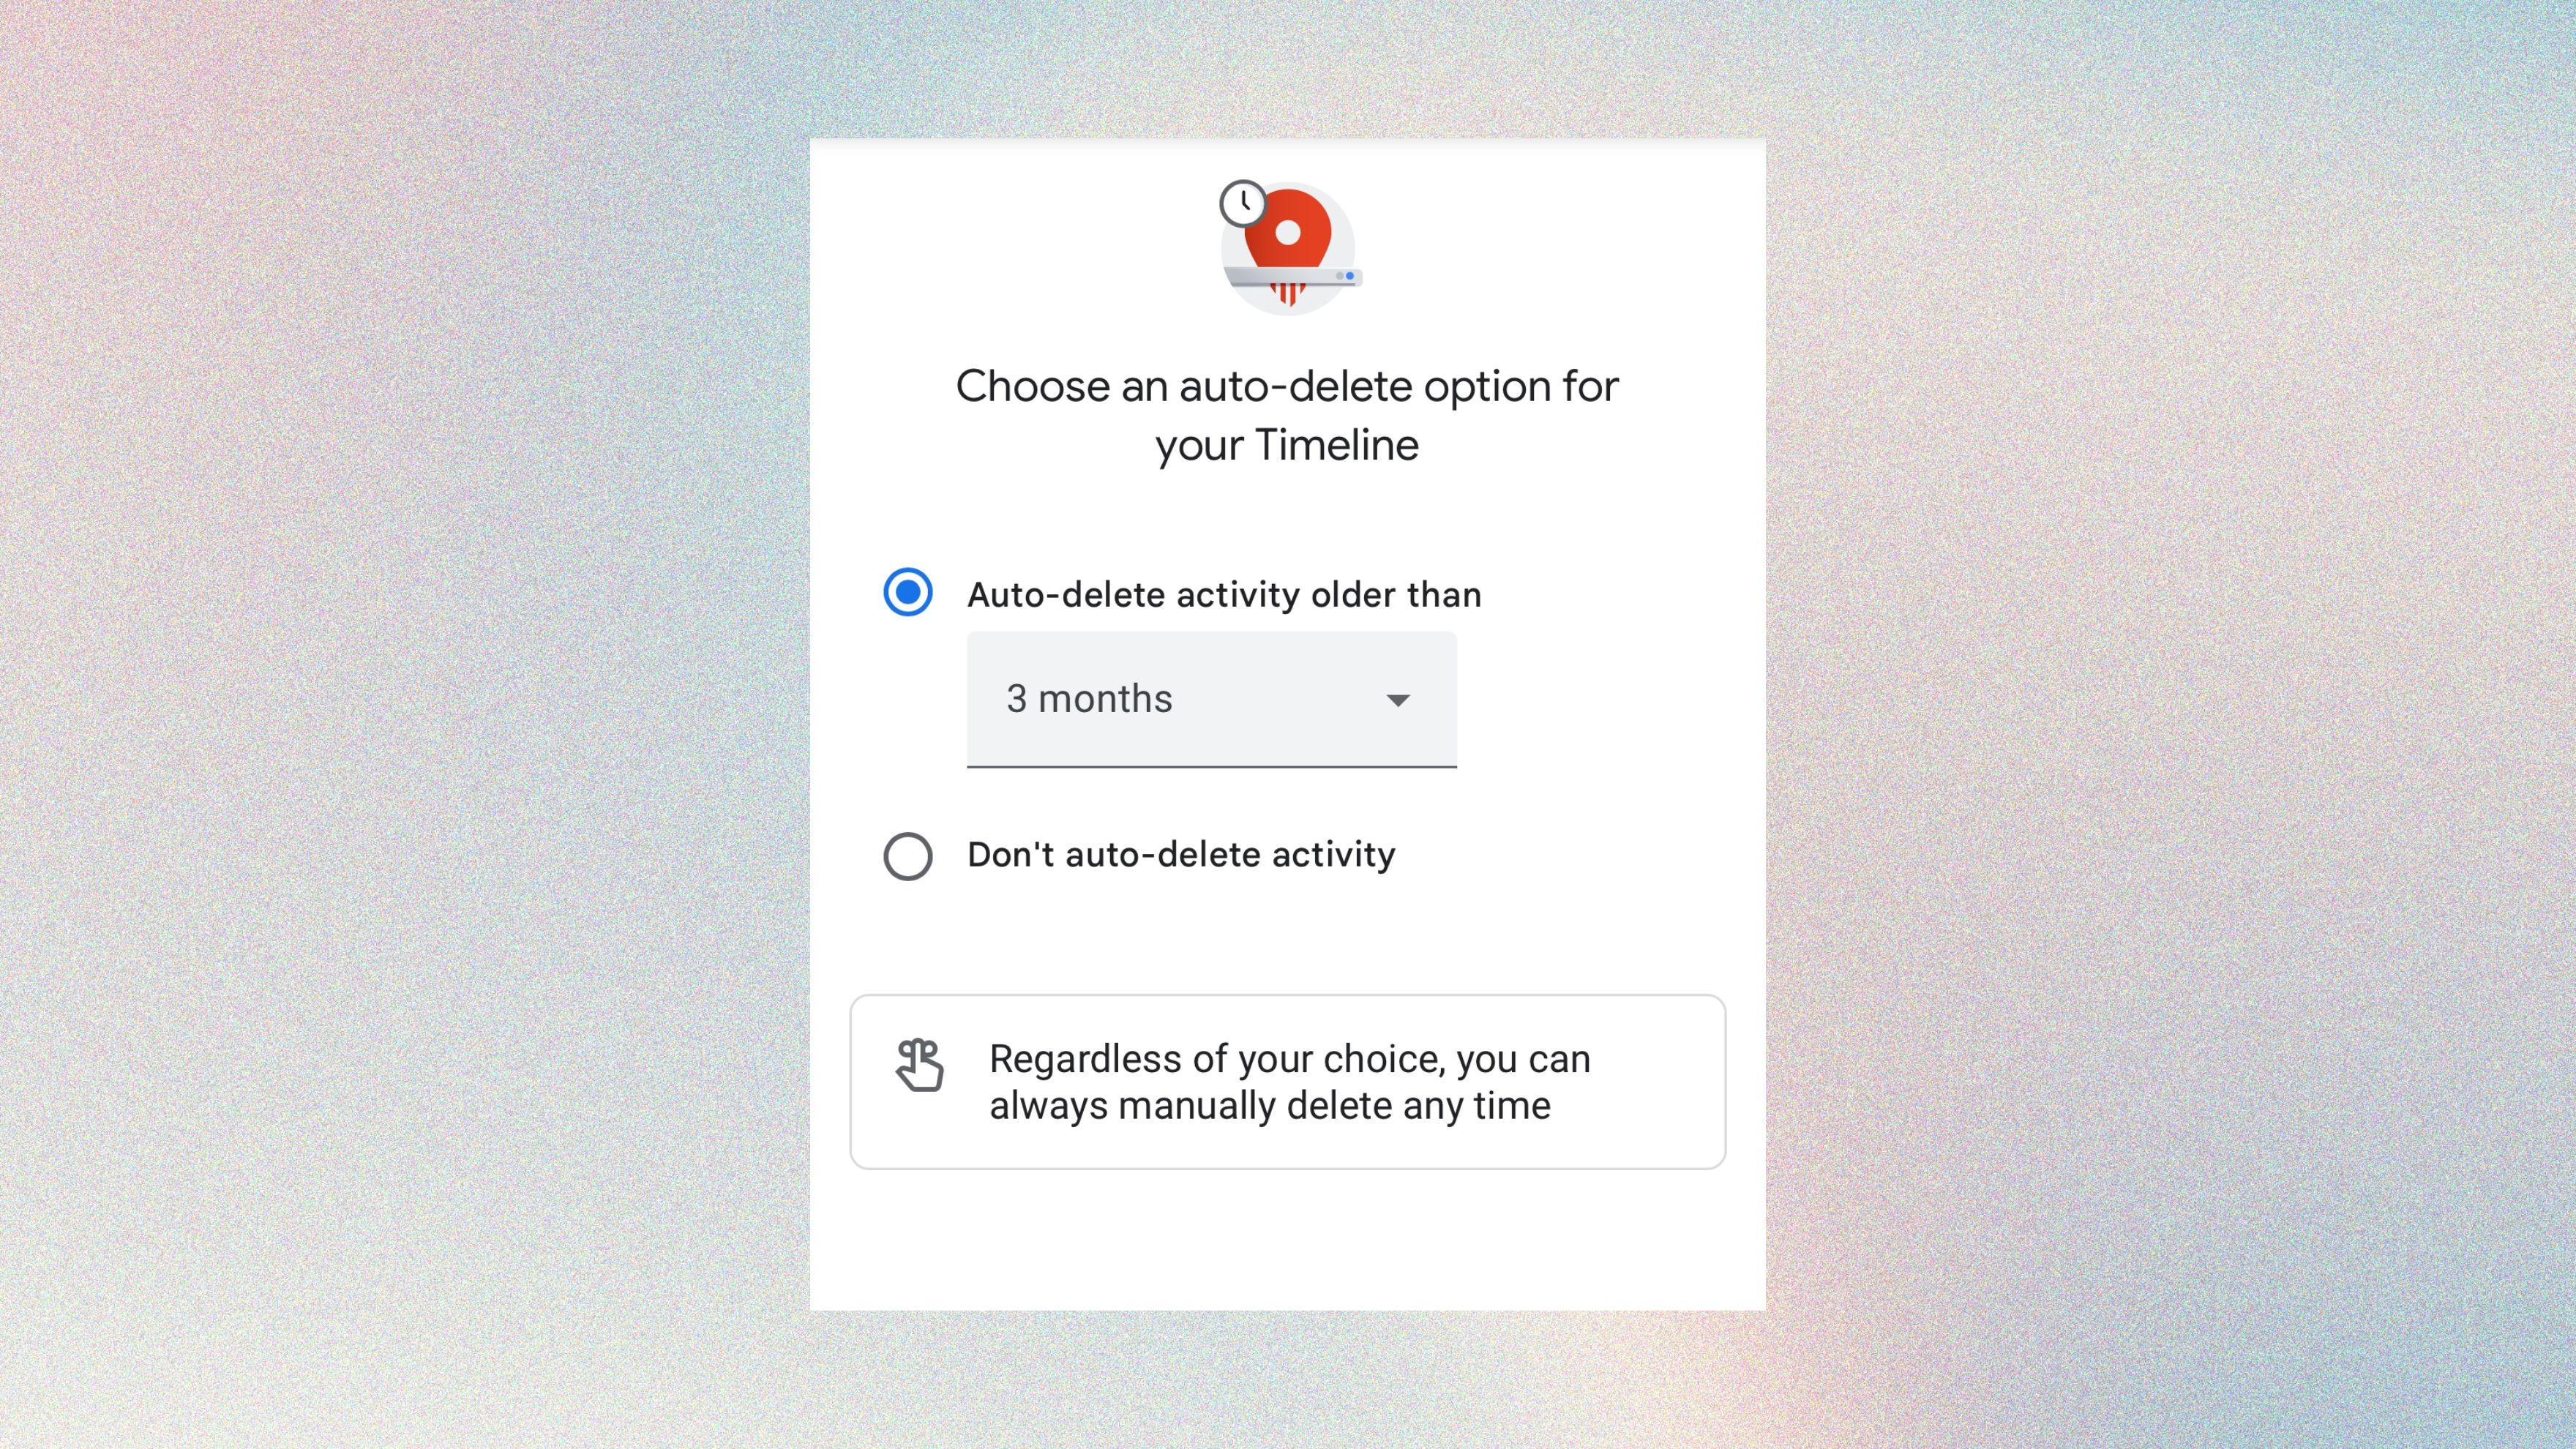
If you don’t want to remember to go in and manually delete your locations, you can ask Google to delete everything after three months, 18 months, or 36 months. The only difference in the process between iOS and Android is what the Settings menu is called.
- Open the Google Maps app.
- Select your profile picture (or initial, if you haven’t set a profile picture).
- Select Your Timeline.
- Tap on the … menu located on the top right.
- Choose Settings and Privacy on Android, or Settings on iOS.
- Under location settings, tap Automatically delete location history.
- Follow the instructions on the screen to set your desired auto-delete time frame.
Other helpful Google Timeline settings to try
The Google Maps Timeline has several other settings so that you can customize your list, from adding your Photos to changing your email preferences. To see the full list of options, open Google Maps, tap your profile picture, and then tap your timeline. Next, tap the … menu and choose location and privacy settings.
Here, you can adjust settings like:
- Displaying your Google Photos inside your Timeline, to enhance your Trips memories
- Turn Timeline emails on or off
- Export your timeline data, in case you want to save your information before deleting it from Google, or if you want to import your details into a document
- Deleting or adding an auto-delete schedule to your timeline data

