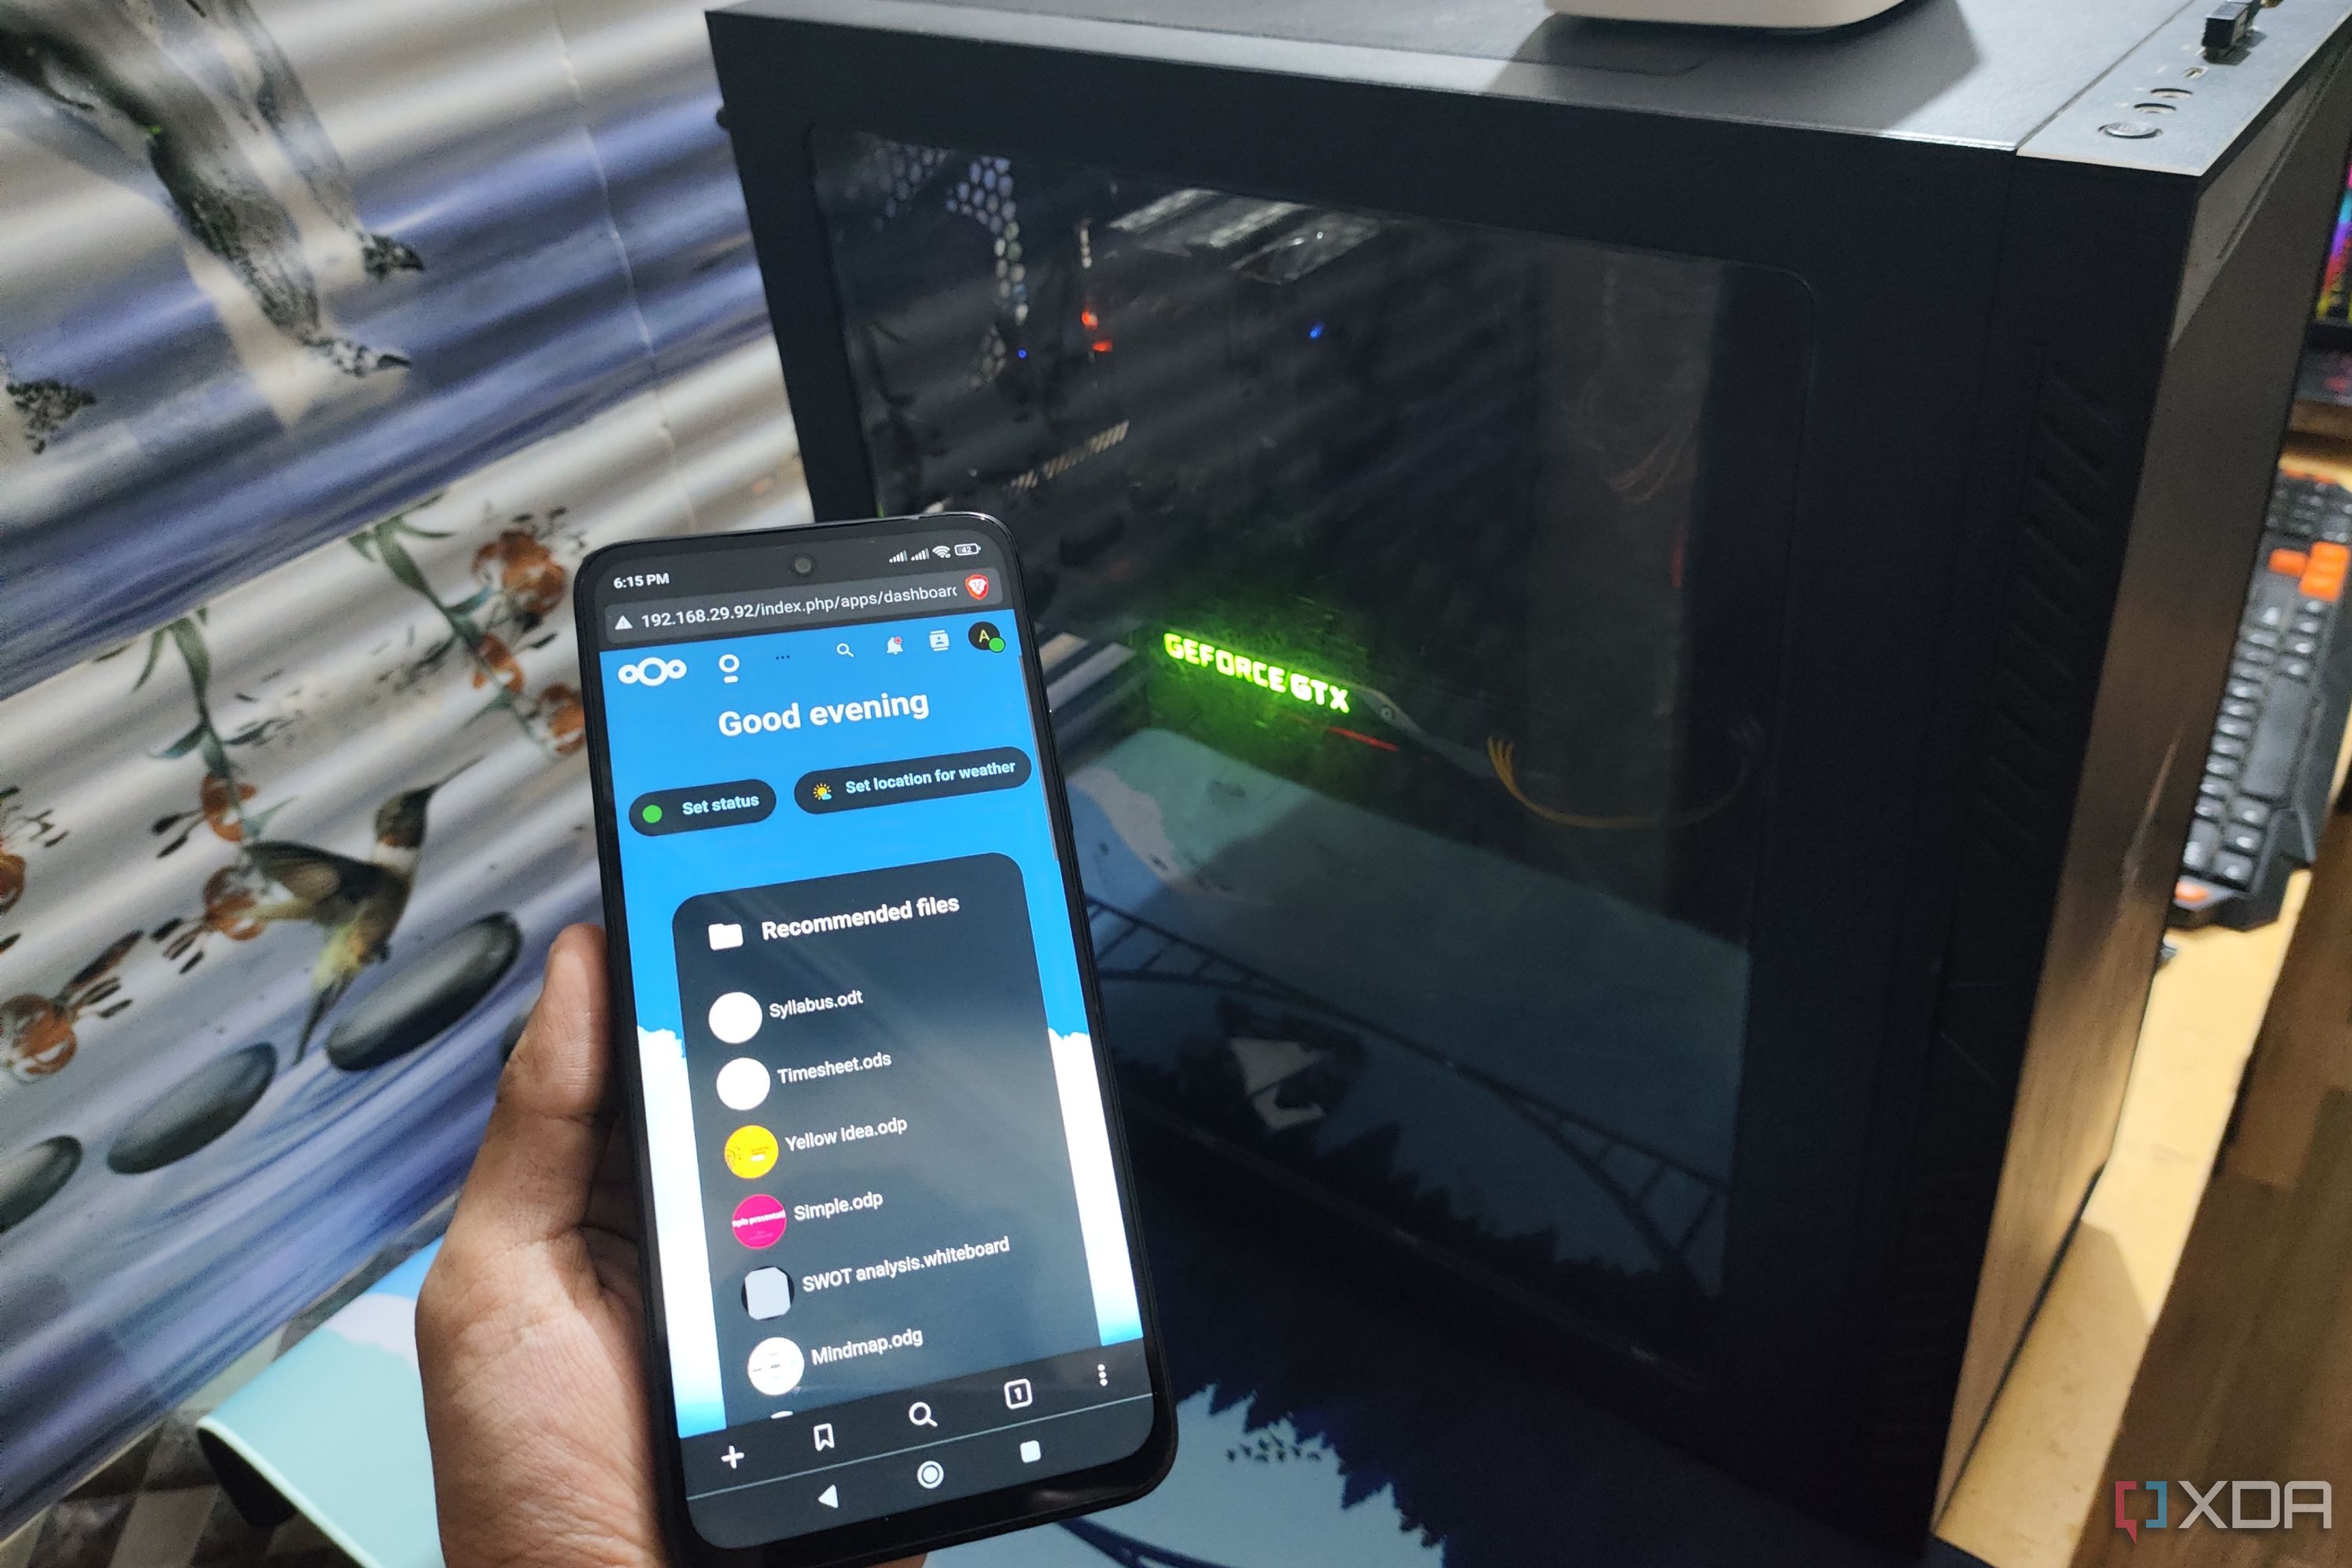
Nextcloud is a fantastic software suite filled with features that position it as a fantastic Google Drive replacement. There are client apps out there for basically every platform, and it has apps for collaboration like the entire Nextcloud Office suite. I turned my old PC into a personal cloud with Nextcloud, and you can too — really easily, in fact. This project is doable on Windows, Mac, or Linux, but keep in mind that you will need to use Docker. It’s another great way to get use out of old tech.
How I set up Nextcloud on my Windows PC
You’ll first need Docker
To get started, you’ll need to install and set up Docker Desktop. Make sure to select that you would like WSL2 to be enabled instead of Hyper-V, and you’ll need to reboot once it finishes. Once you’ve rebooted, launch Docker Desktop, go to settings, and click Start Docker Desktop when you sign in to your computer. This ensures that it will start when your PC does, along with your containers.
Docker is what handles the deployment and management of Nextcloud on Windows, as it runs a container which is essentially a virtualized application on your computer, similar to virtual machines, but using a different set of technology to do it. Containers share the libraries and binaries of the host operating system and only have the resources and dependencies needed to run the specific application they contain. This means there’s no need for a full operating system per container.
Next, we’re going to install the Nextcloud AIO container. Nextcloud AIO is the All-In-One solution that the company distributes so that you can quickly get up and running. It requires you to have a domain or a reverse proxy to use, as you’ll need to generate an SSL certificate for it. I’m using my own domain, and you’ll need to enter one during the setup to go further. To do that, run the following command:
docker run --sig-proxy=false --name nextcloud-aio-mastercontainer --restart always --publish 80:80 --publish 8080:8080 --publish 8443:8443 --volume nextcloud_aio_mastercontainer:/mnt/docker-aio-config --volume //var/run/docker.sock:/var/run/docker.sock:ro -e NEXTCLOUD_DATADIR="/run/desktop/mnt/host/c/ncdata" nextcloud/all-in-one:latest
You should change the /run/desktop/mnt/host/c/ncdata folder if you would like Nextcloud to store its data elsewhere. This, by default, stores the data in C:/ncdata. As well, you can add the –env SKIP_DOMAIN_VALIDATION=true flag to the line before “nextcloud/all-in-one:latest” if you would like to launch it without domain validation, though you won’t be able to access your server until you point your domain towards it.
Setting up Nextcloud AIO for browser configuration
You do it in your browser
Once the Docker container has been deployed and is running, navigate to localhost:8080 in your browser. Make sure to take down the passphrase that it shows you, as you’ll need it to log in to your Nextcloud instance. Next, you’ll need to give it the domain to verify and get a certificate. If you used the SKIP_DOMAIN_VALIDATION flag we showed above, you can enter anything here, but you won’t be able to change it easily in the future. Set this to a domain that you control so that you can verify it later.
Next, you’ll need to decide what additional containers you would like alongside your Nextcloud install. These include features like Collabora for the Nextcloud Office suite and Imaginary for previewing certain file types. We recommend looking into these options and installing the ones that seem right for you. We just went with the default options available.
Finally, Nextcloud will work and download all of those containers for you, while setting up everything else that it needs as well. This can take a few minutes, especially if you have a slower internet connection. Clicking on the containers will update their status so you can see when they’re ready, and you’ll be able to access Nextcloud once they’re finished. From there, you can configure the remaining settings and use the login details that the installer gives you.
Connecting to Nextcloud from your devices
There are apps for pretty much all platforms
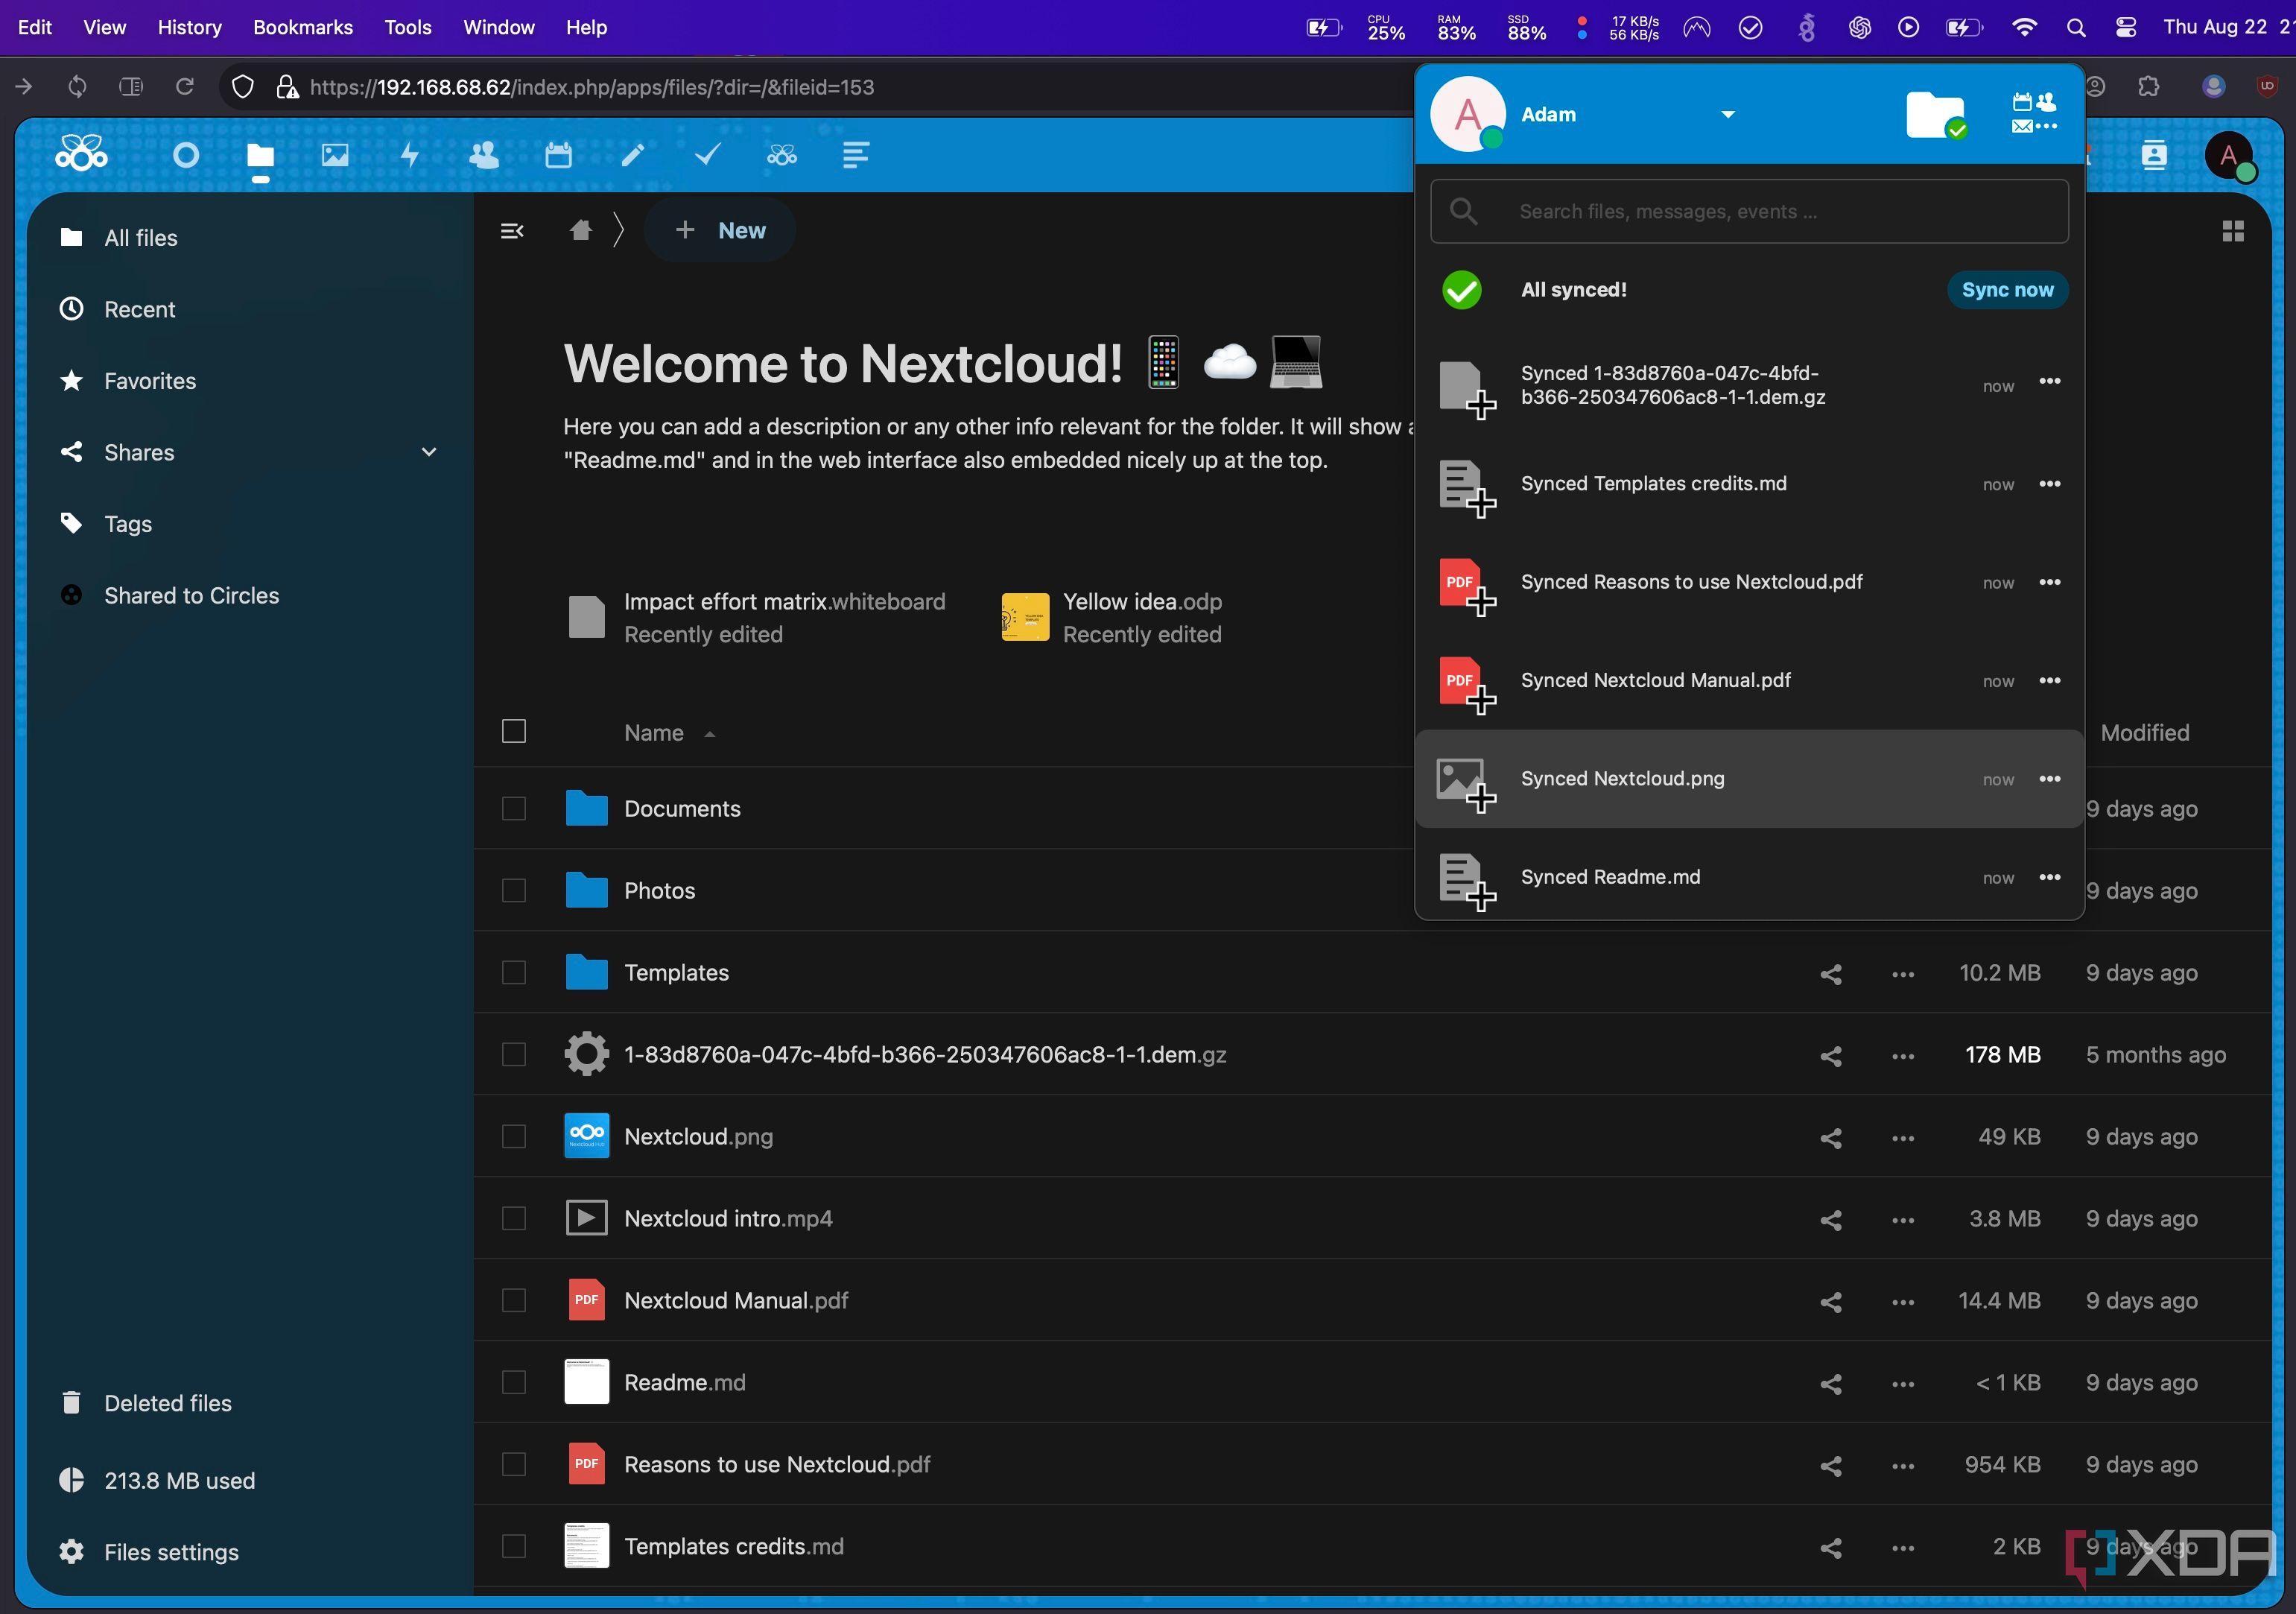
If you want to access Nextcloud, you can access it from any of your devices so long as they have a compatible app. There’s even a web GUI that works quite well, but you can sync and manage files using the Nextcloud client like you would expect if you were to use Google Drive. These programs will automatically synchronize files and share them if you dictate them to.
For example, I have all of my photos automatically backup to my Nextcloud instance for safe keeping. In the mobile app, you can dictate folders for automatic synchronization, so you can access them anywhere at any time. There are a lot of uses that Nextcloud enables, and it’s worth taking the short time to set it up to get those, especially if you have a second PC lying around that isn’t doing anything.
Of course, you might be better off turning that PC into a full-blown NAS with a project like this, but it’s a great way to test the waters to see if you’re interested in undertaking networking projects.


