Key Takeaways
- Google Calendar may seem clunky, but using Python to create a smart calendar tool can simplify calendar management in a terminal.
- Enabling the Google Calendar API is necessary, along with creating a ‘credentials.json’ file for authentication with your Google account.
- The basic Python script allows users to easily add, remove, and view events on their Google Calendar directly from the terminal, saving time and hassle.
I don’t like using Google Calendar, but it’s the only thing I’ve found that makes it possible for me to keep on top of things throughout the day. However, I find Google Calendar a little bit clunky, especially if I’m using my computer to do it. There are other tools like Notion, Todoist, and more to help you organize your life, but Google Calendar is what works for me. I decided to take matters into my own hands and used Python to make my calendar a smart calendar instead.
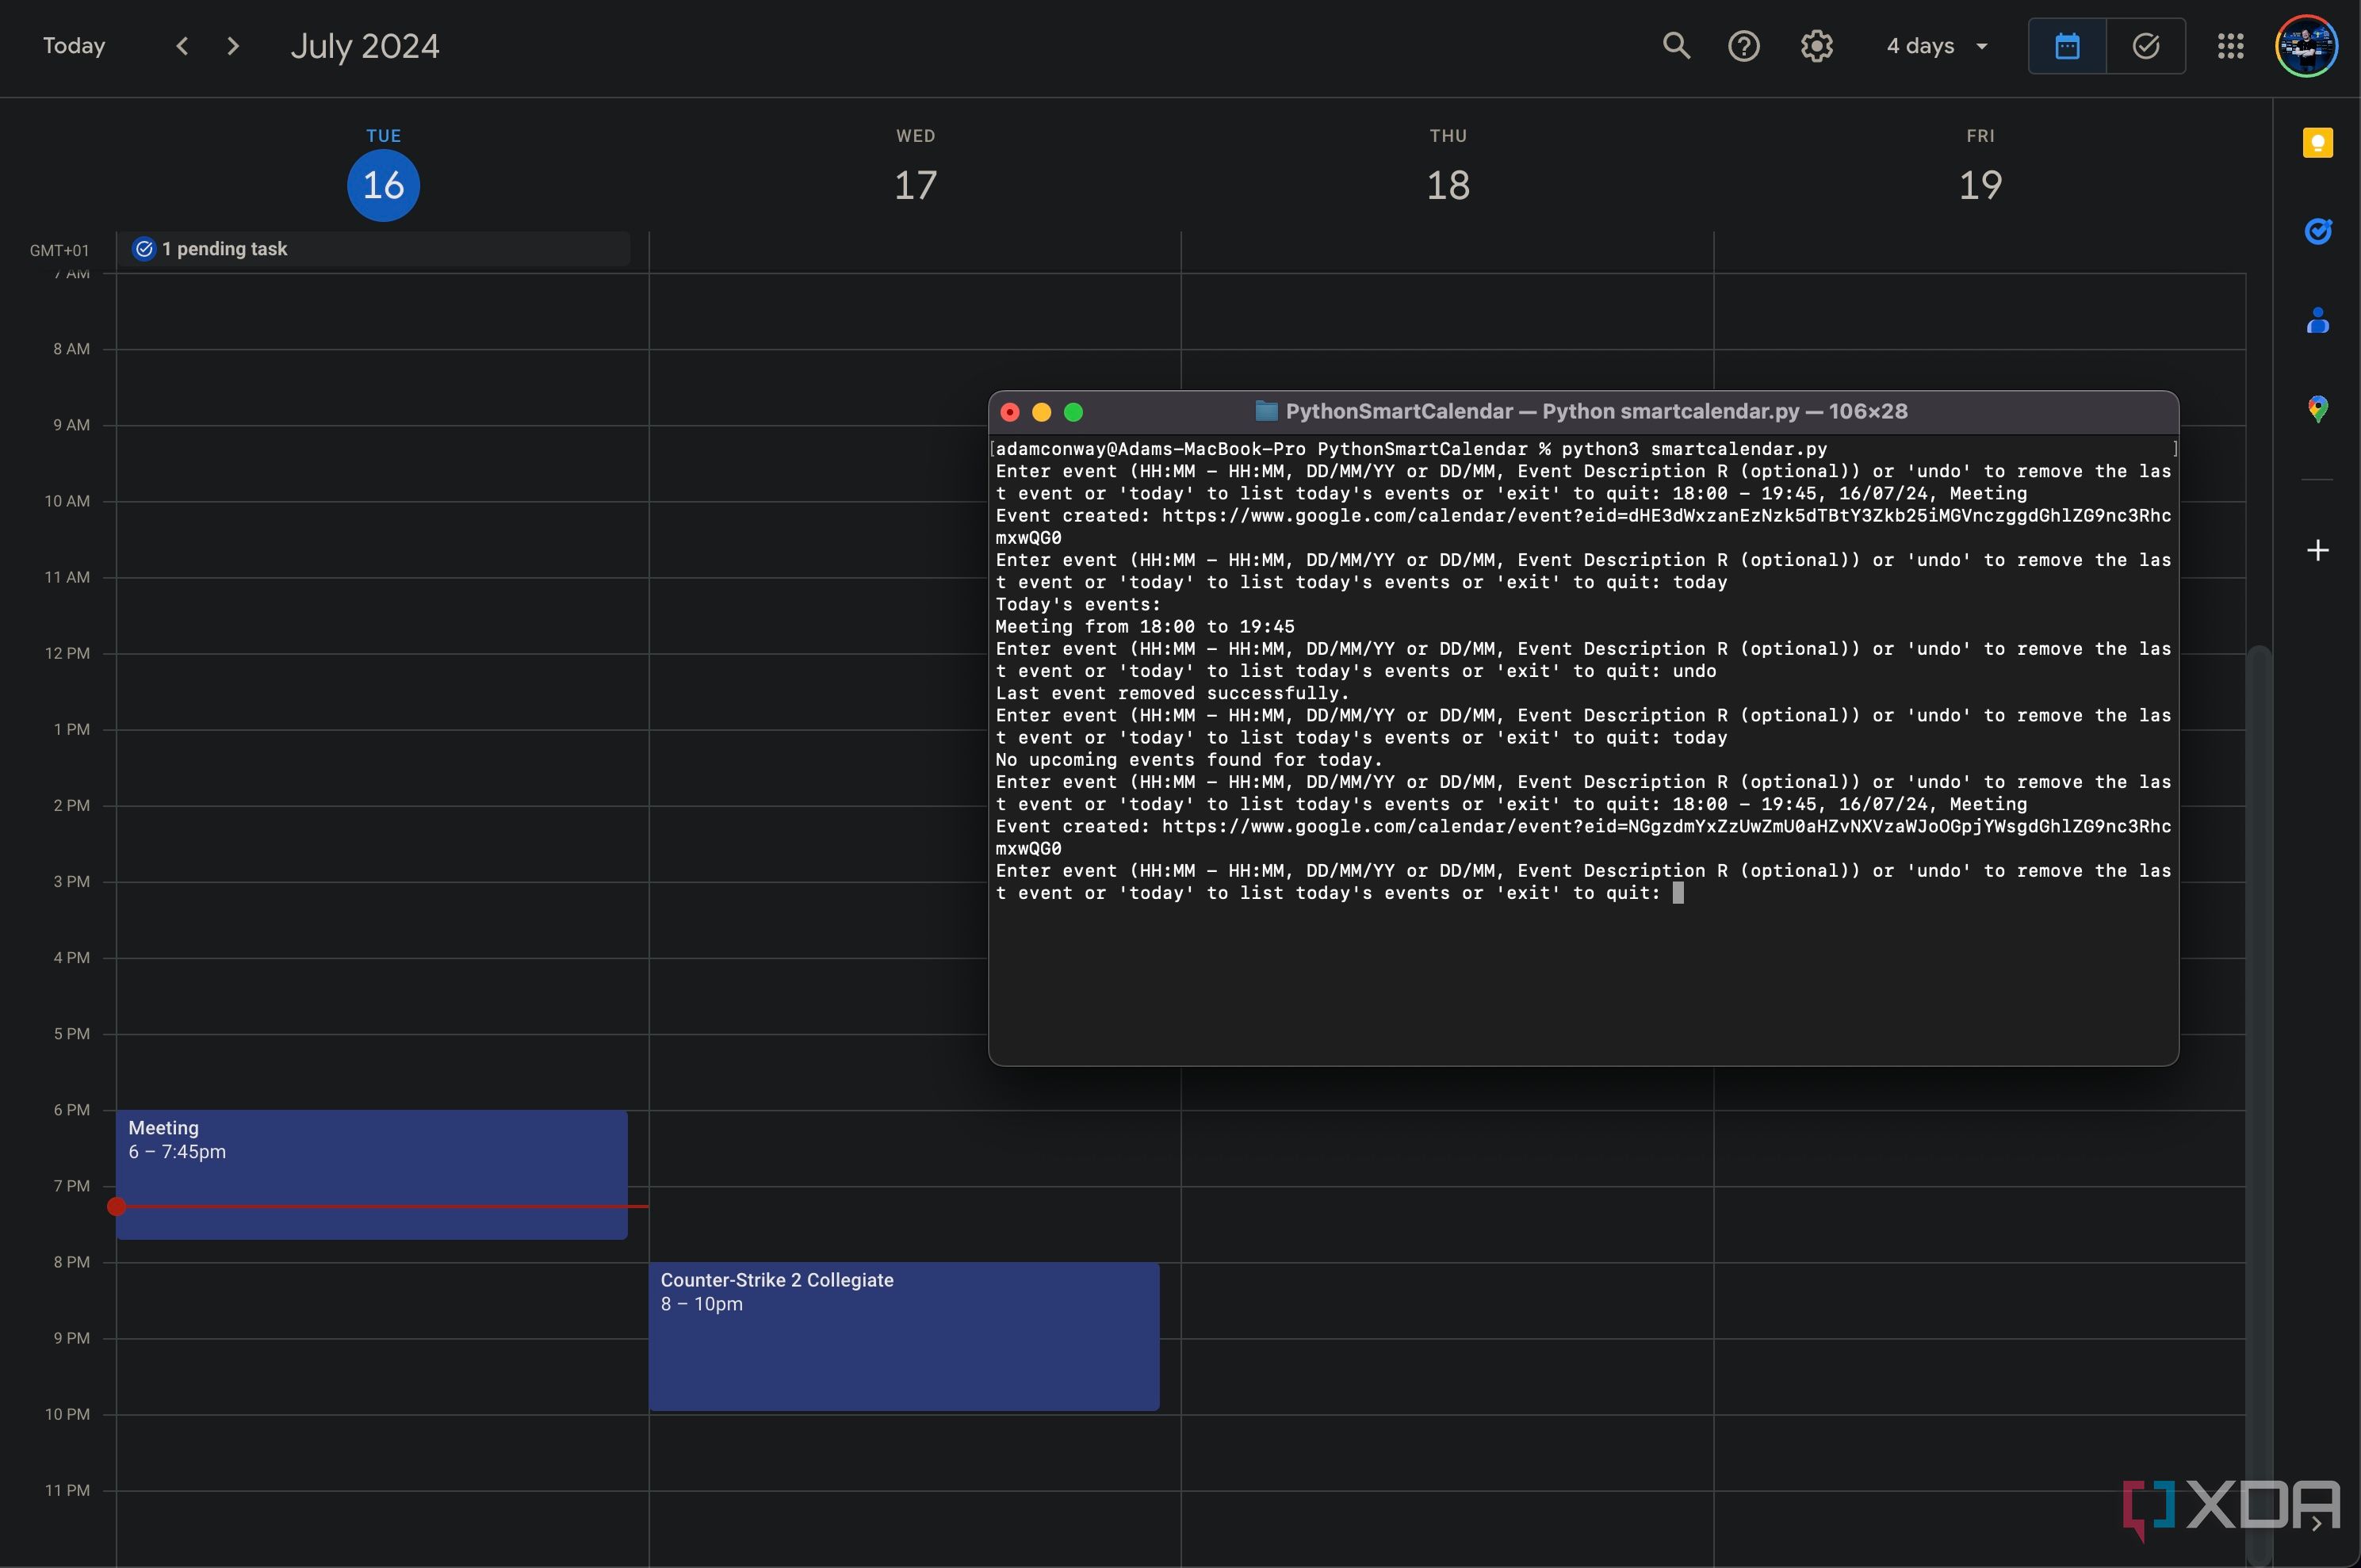
When I say a smart calendar by the way, I specifically mean a basic program that can just give me a text input and output version of Google Calendar. It uses the Google Calendar API to push and pull information to my personal calendar, which is already synced to my other devices through my Google account. It means I get all the benefits of Google Calendar, without needing to deal with the UI.
If you want to get started with controlling your Google Calendar from a script or other program, you’ll need to enable the Google Calendar API in your Google account.
How to set up the Google Calendar API
You’ll be using Google’s Cloud Console
Before you get started, you’ll need to enable the Google Calendar API for your account. Follow the instructions below to enable the API, create a `credentials.json` file, and authenticate the Python script with your Google account.
- Create a Project in Google Cloud Console:
- Go to the Google Cloud Console.
- Create a new project or select an existing one.
- Enable the Google Calendar API for your project.
- Create Credentials:
- Go to the API & Services > Credentials page.
- Create OAuth 2.0 Client IDs and configure the consent screen.
- Download the credentials.json file.
- Install the required Python libraries
- Run the following command: pip install google-api-python-client google-auth-httplib2 google-auth-oauthlib pytz
The credentials.json file contains details to authenticate the application to your Google account so that you can make modifications to your Calendar. When you first run the script with this file, it will bring you to your browser to authenticate the application and give it access to your account.
It’s a pretty short script
The script begins by handling authentication with the Google Calendar API using OAuth 2.0. The authenticate_google function is responsible for this process. Initially, it checks if a token.json file exists in the directory. This file stores the user’s access and refresh tokens. If the file exists, the script loads these credentials. If the credentials are either missing or invalid, the function attempts to refresh them using the refresh token. If refreshing the token fails, the script initiates a new OAuth flow. This flow prompts the user to log in and authorize the application to access their Google Calendar. Once authenticated, the credentials are saved to token.json for future use, eliminating the need for repeated logins. The function then creates and returns a service object, which is used to interact with the Google Calendar API throughout the script.
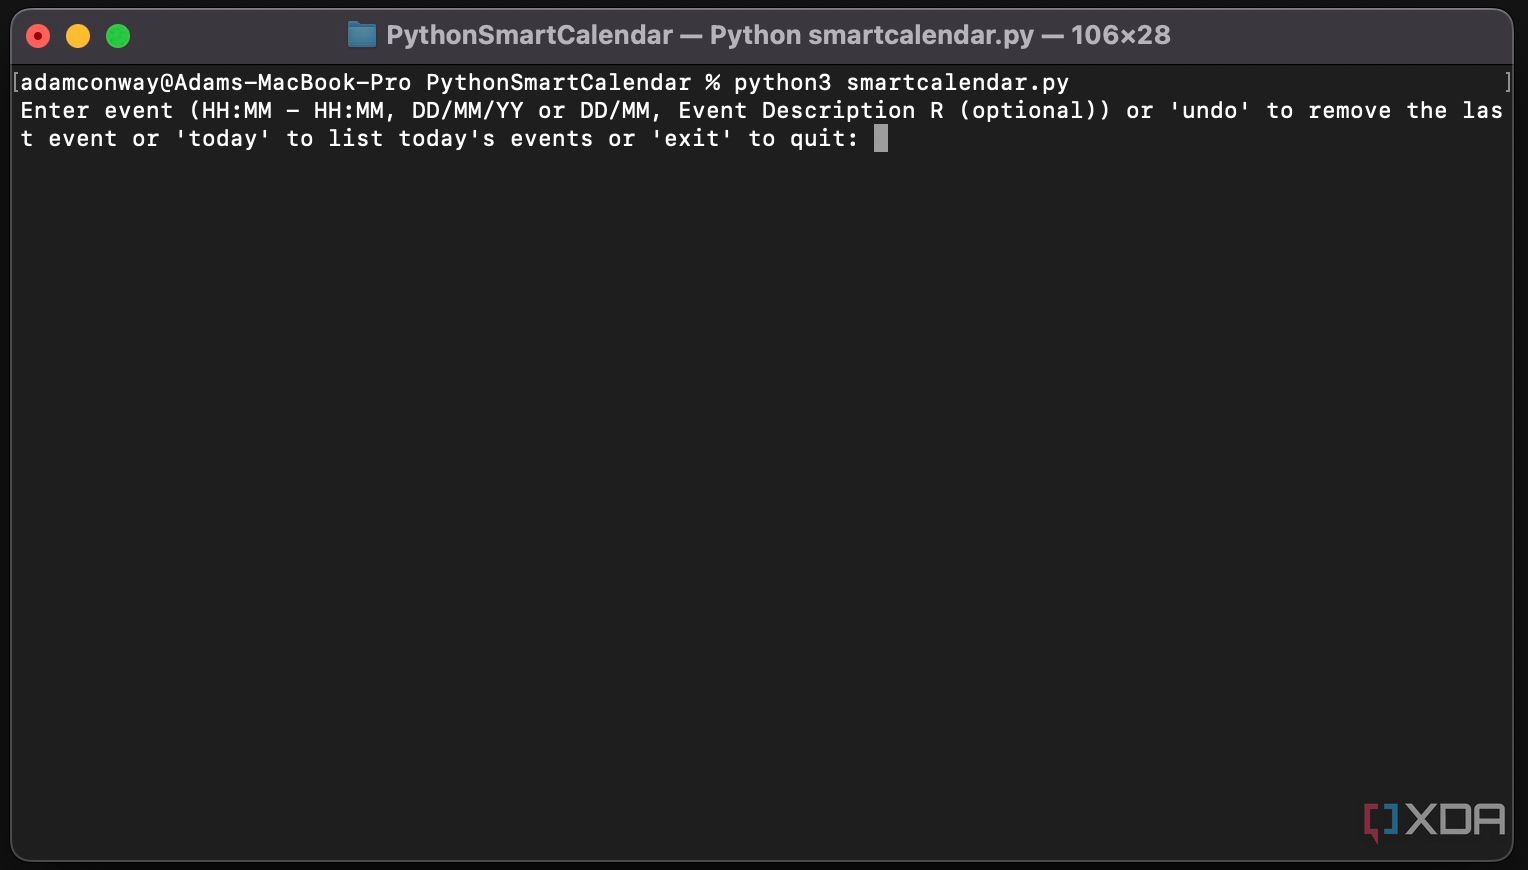
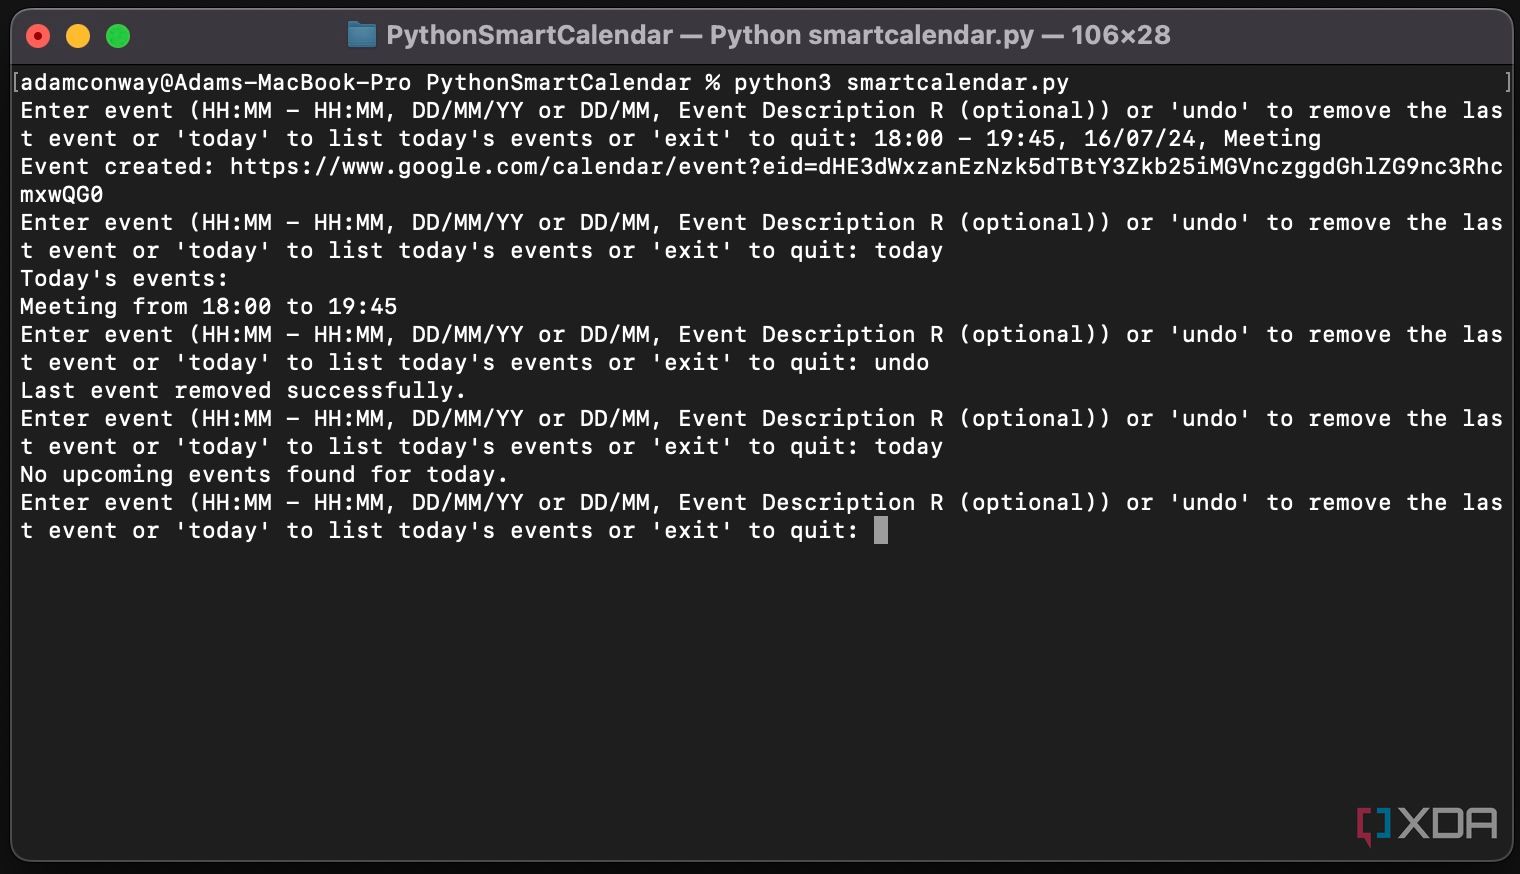
After that, the application will allow the user to enter inputs to add items to their Google Calendar. It will request the user to enter events in the form of ‘HH:MM – HH:MM, DD/MM/YY or DD/MM, Event Description R (optional)’ at the start. It parses this input, extracting the start time, end time, date, and event description. If only the day and month are provided, the function assumes the current year. If the event’s specified date has already passed this year, it increments the year by one to schedule the event for the next year. Additionally, the function checks if the input ends with an ‘R’, which indicates that the event should repeat weekly.
With this setup, the script keeps track of the events you add, allowing you to easily correct mistakes. If you make an error, simply type “undo” to remove the most recent event. Additionally, you can type “today” to get a list of all your events scheduled for the current day. While you can manually remove events, using the “undo” feature is a quick and convenient option.
Overall, this is a basic program, but it provides a fast and efficient way to manage your calendar directly from the terminal. Although the terminal output might seem a bit cluttered at first, you can enhance it over time by adding spacing, new lines, and other improvements to create a more user-friendly interface.
How to run this yourself
All you need is Python
If you want to run this yourself, I made a GitHub repository containing the source code and installation instructions. You’ll need to enable the Google Calendar API and create a client for use with the script, but you can then run the script on any device that you would like. It’s a pretty basic project, but I find that it makes it much easier for me to manage my calendar and add things to my calendar as I go.
For example, I can leave the script open and quickly type an event in my calendar if something comes up, just so I can remember to do it. It’s quick and easy, and means I can add something to my calendar in ten seconds rather than having to get my phone or go to Calendar in my browser and manually add everything that I need. You can expand on it too to add more features, as my script is fairly barebones for what it is.


