
When collaborating online with colleagues, friends, and even workplace employees, Google Docs is one of the first-choice platforms for creating and editing documents. It integrates well with other Google tools, like seamlessly saving files with your Gmail account, and it’s pretty user-friendly even on a budget phone. But before settling in, you should change your Google Docs settings. We recommend you apply and manage these changes before diving deeper into your document, as it can save you loads of time and effort from fixing it manually. Our list shows our favorite must-know settings crucial for transforming a simple document into a masterful file.
Related
Google Docs: Everything you need to know about the online word processor
The one Google Docs guide to rule them all
7
Set up Google Docs for offline use
Work on Google Docs locally without being online
While working in Google Docs, you may not have access to a steady internet connection. You can access your Google Docs offline, but setting it up beforehand is required. You will want this setting enabled before you take your document on the go; that way, you can make quick edits or jot down notes without worrying about your Wi-Fi access.
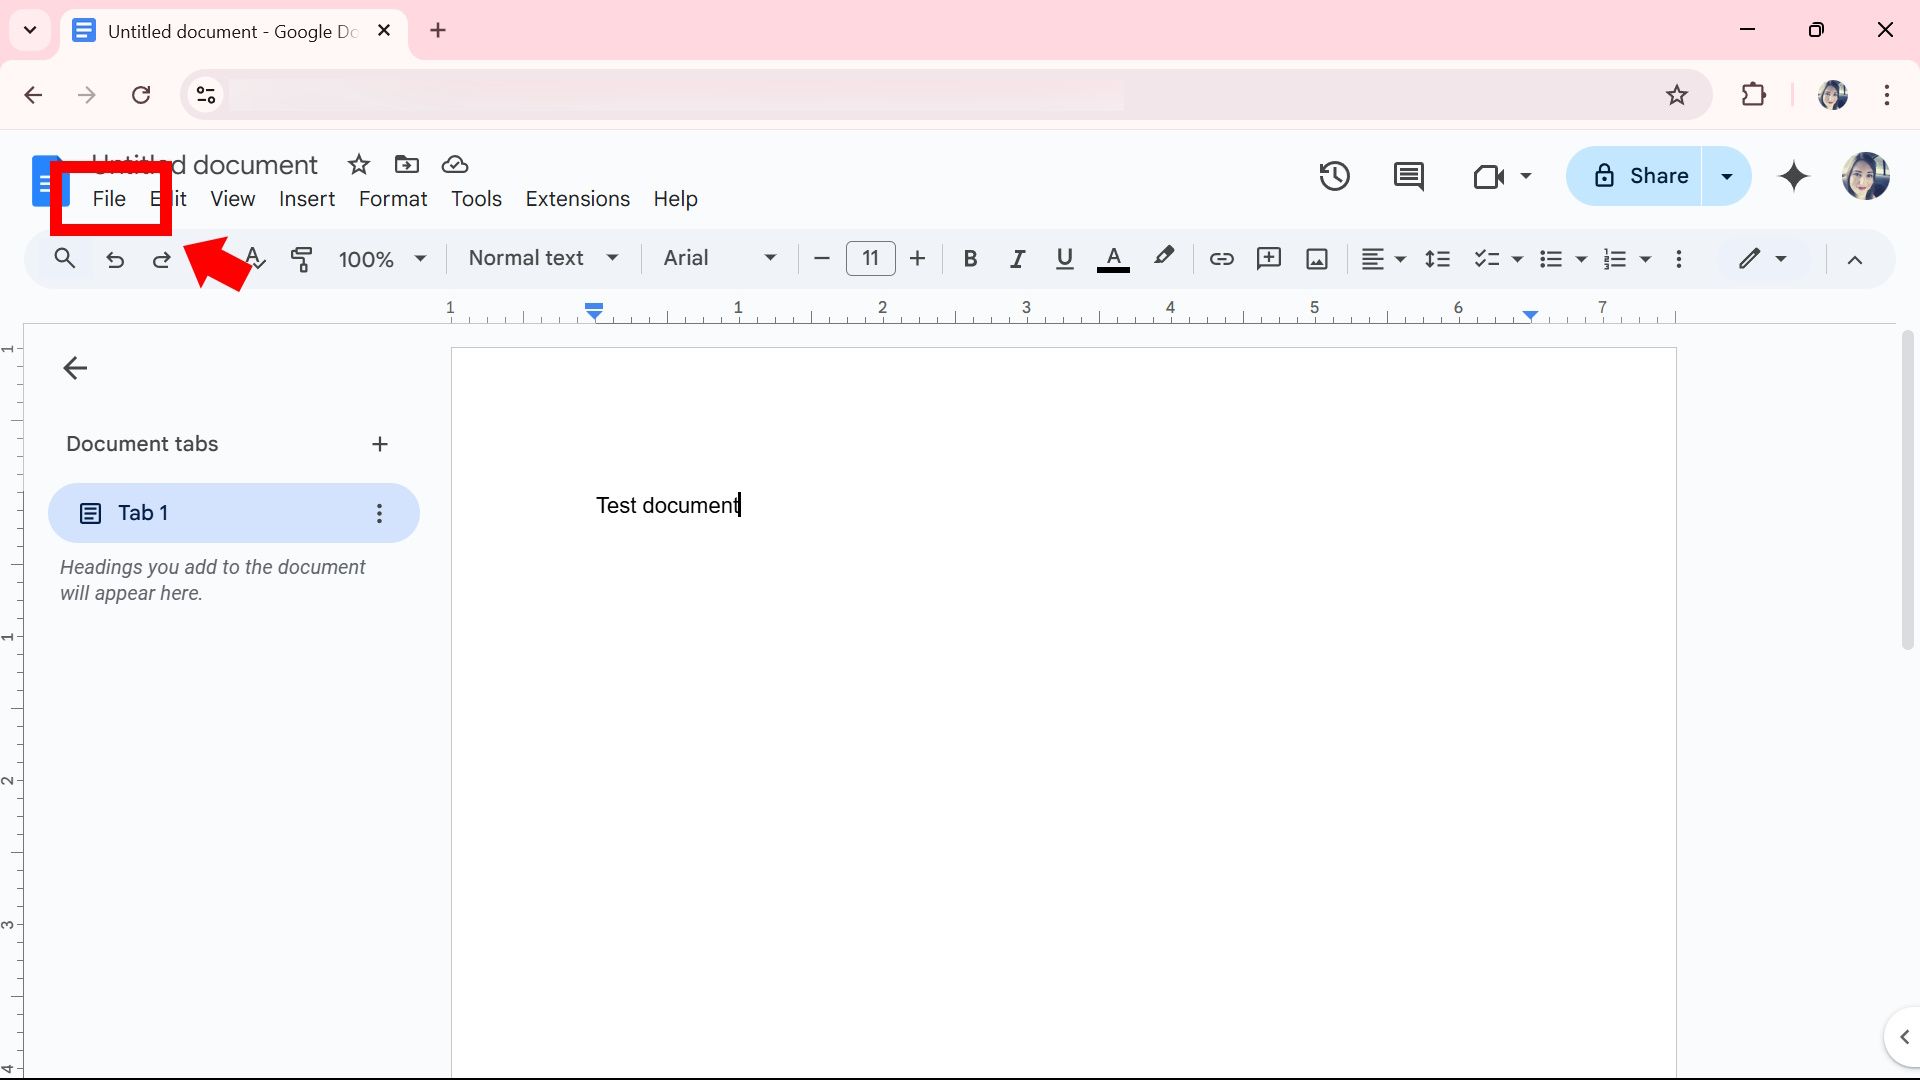
- Open Google Docs.
-
Click File at the top left corner.
-
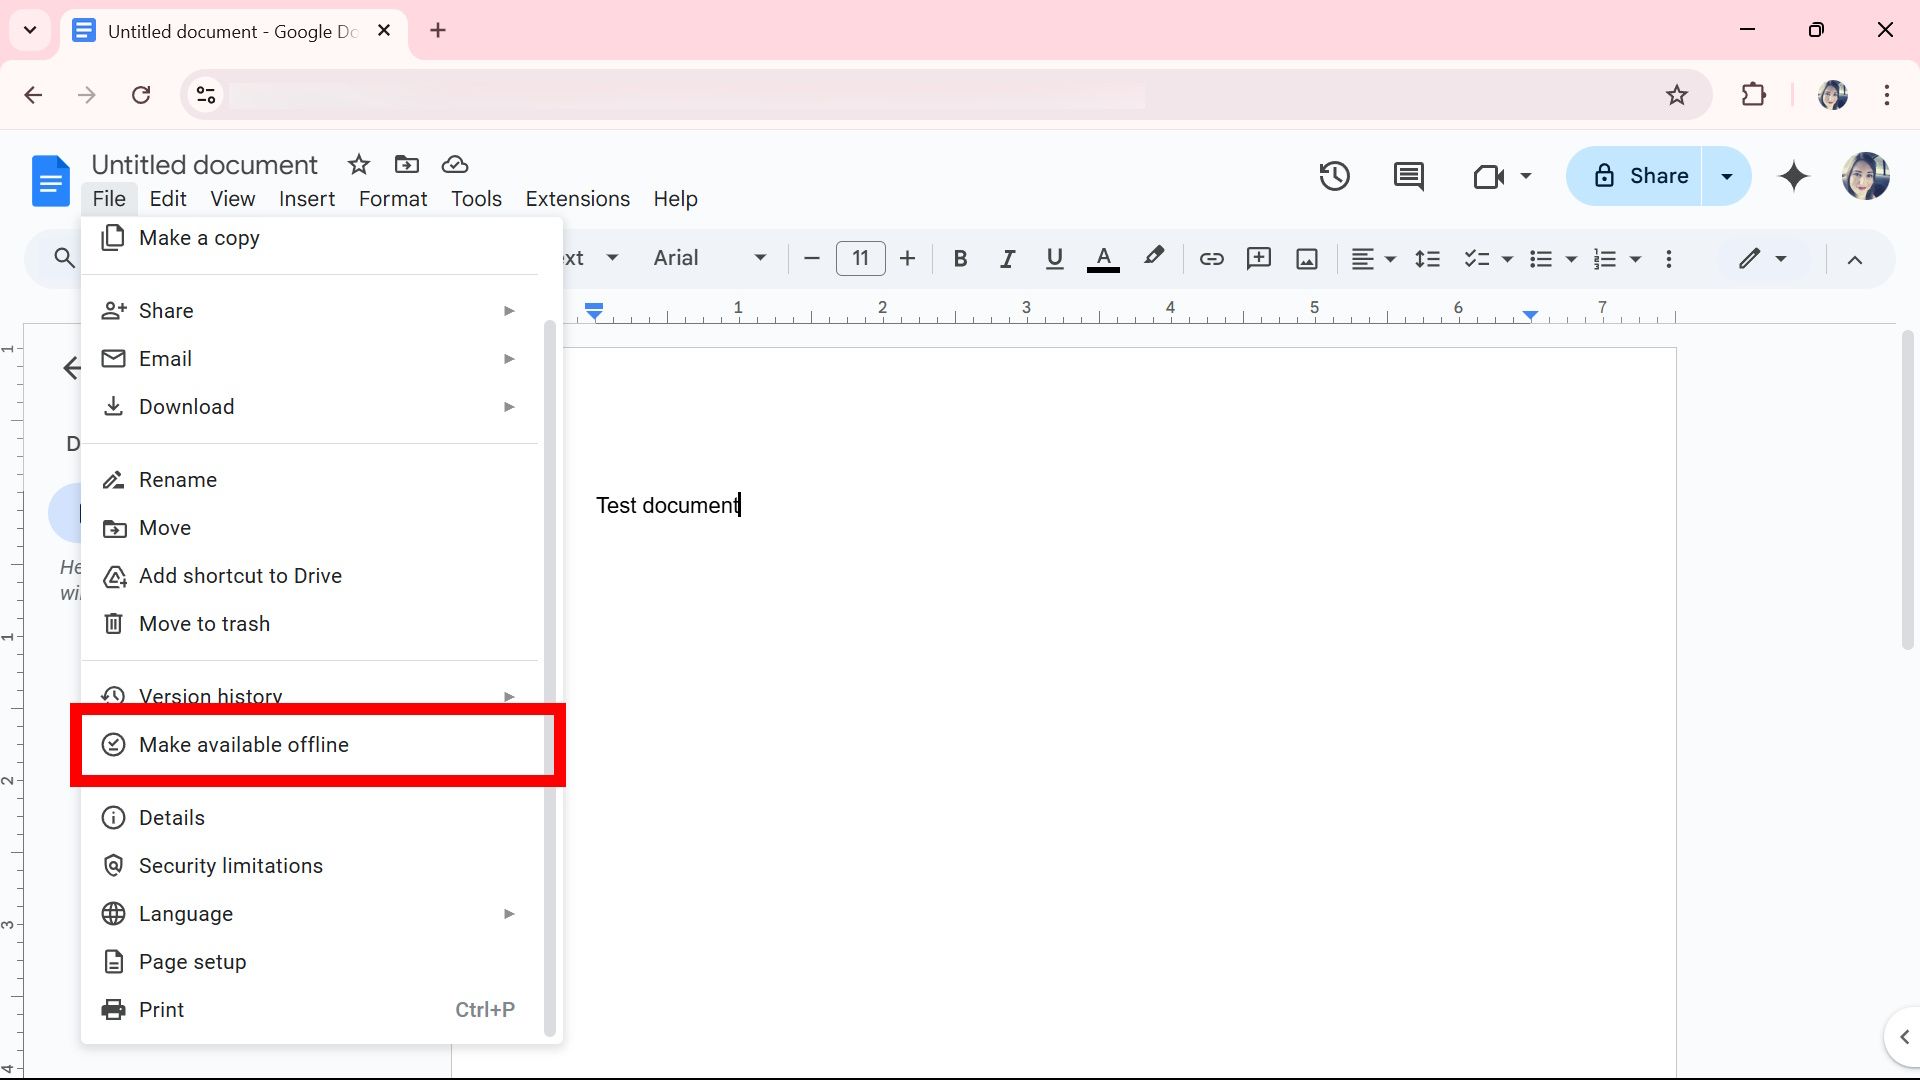
Select Make available for offline.
-
Click Turn on.
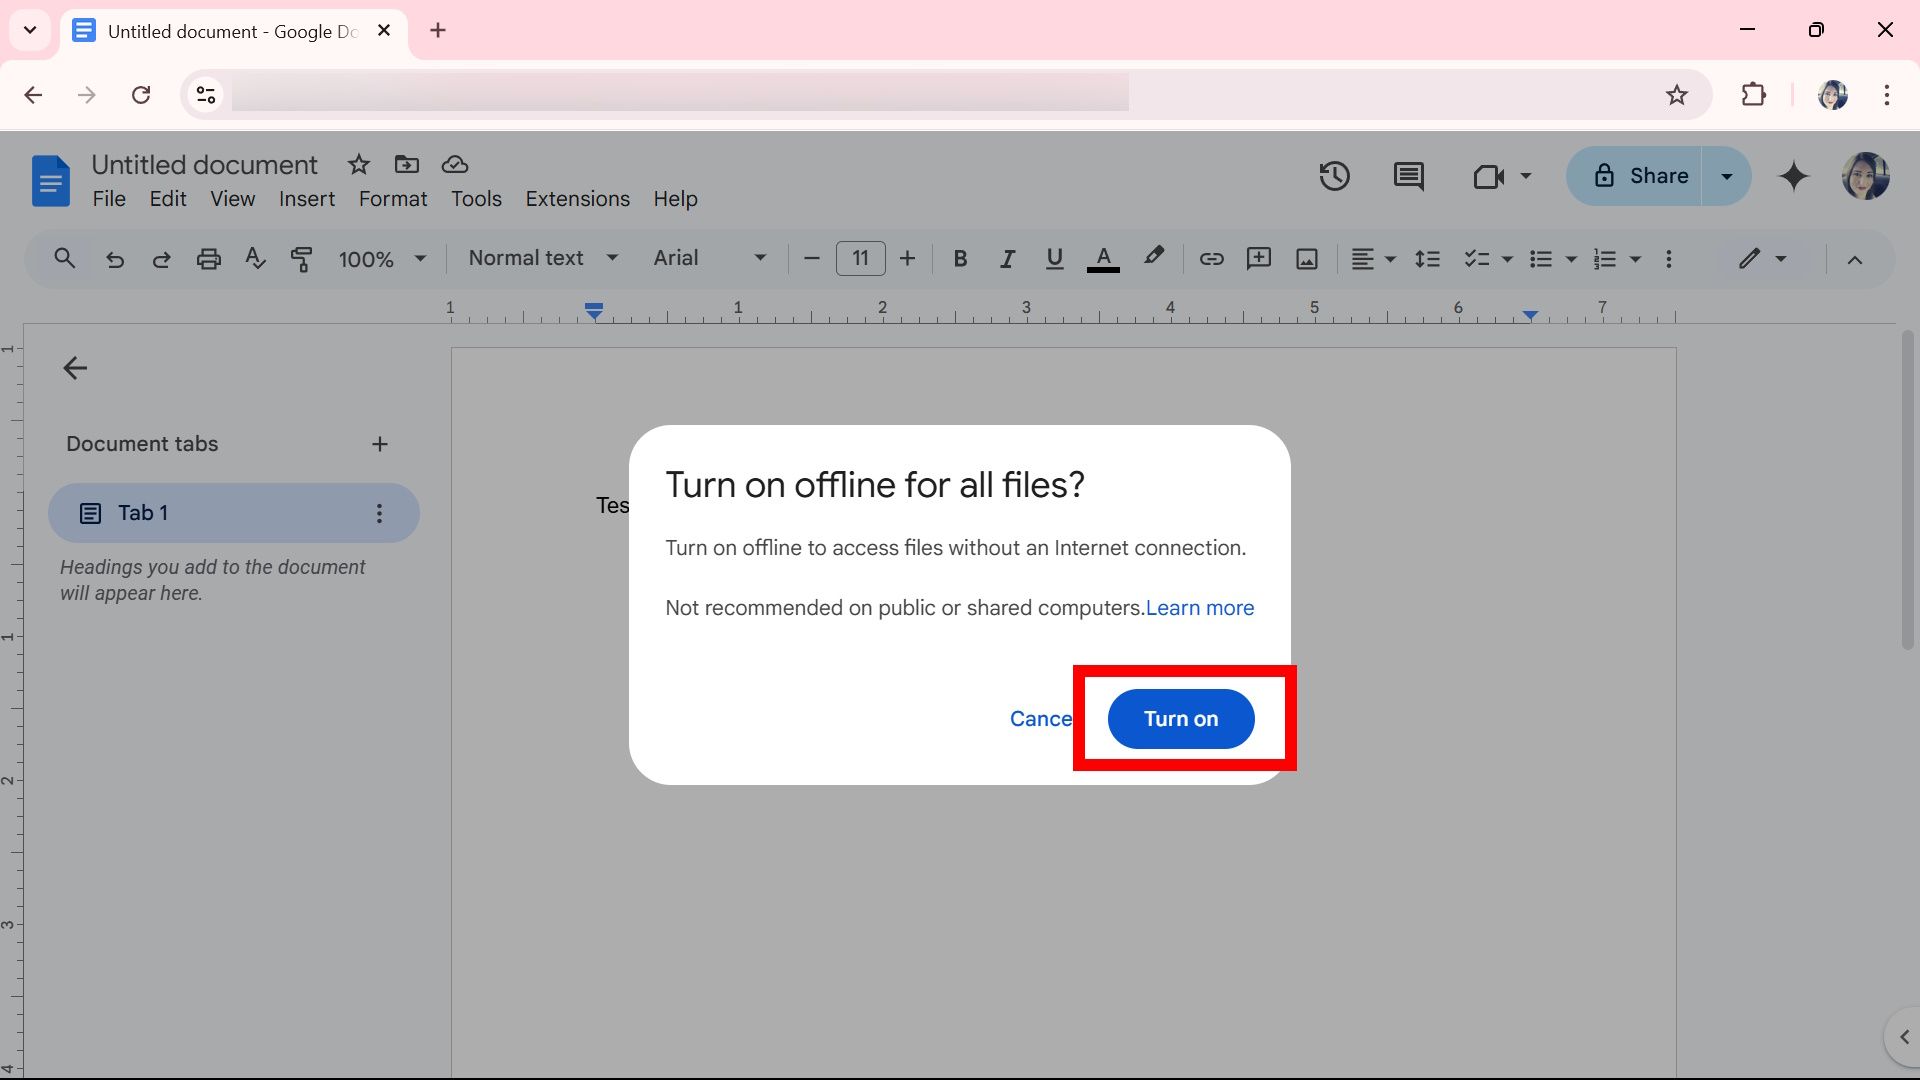


This is not recommended if you share your computer or device. Making your document available offline means others can have free access unless your account is password-protected. You can undo this action by navigating to File > Remove offline access.
You can find this setting on the Google Docs mobile app by navigating to the More menu (three-dot icon in the top right corner) and toggling on Available offline.
6
Manage the document permissions
Don’t lock out your collaborators
Google Docs is a robust collaboration tool. But what happens if you accidentally forget to set permissions for your colleagues to edit your work? Your colleagues will likely call or email letting you know that they can’t do anything. One of the first settings you should change is your share permissions. Do this before sending off your work.
- Open Google Docs.
-
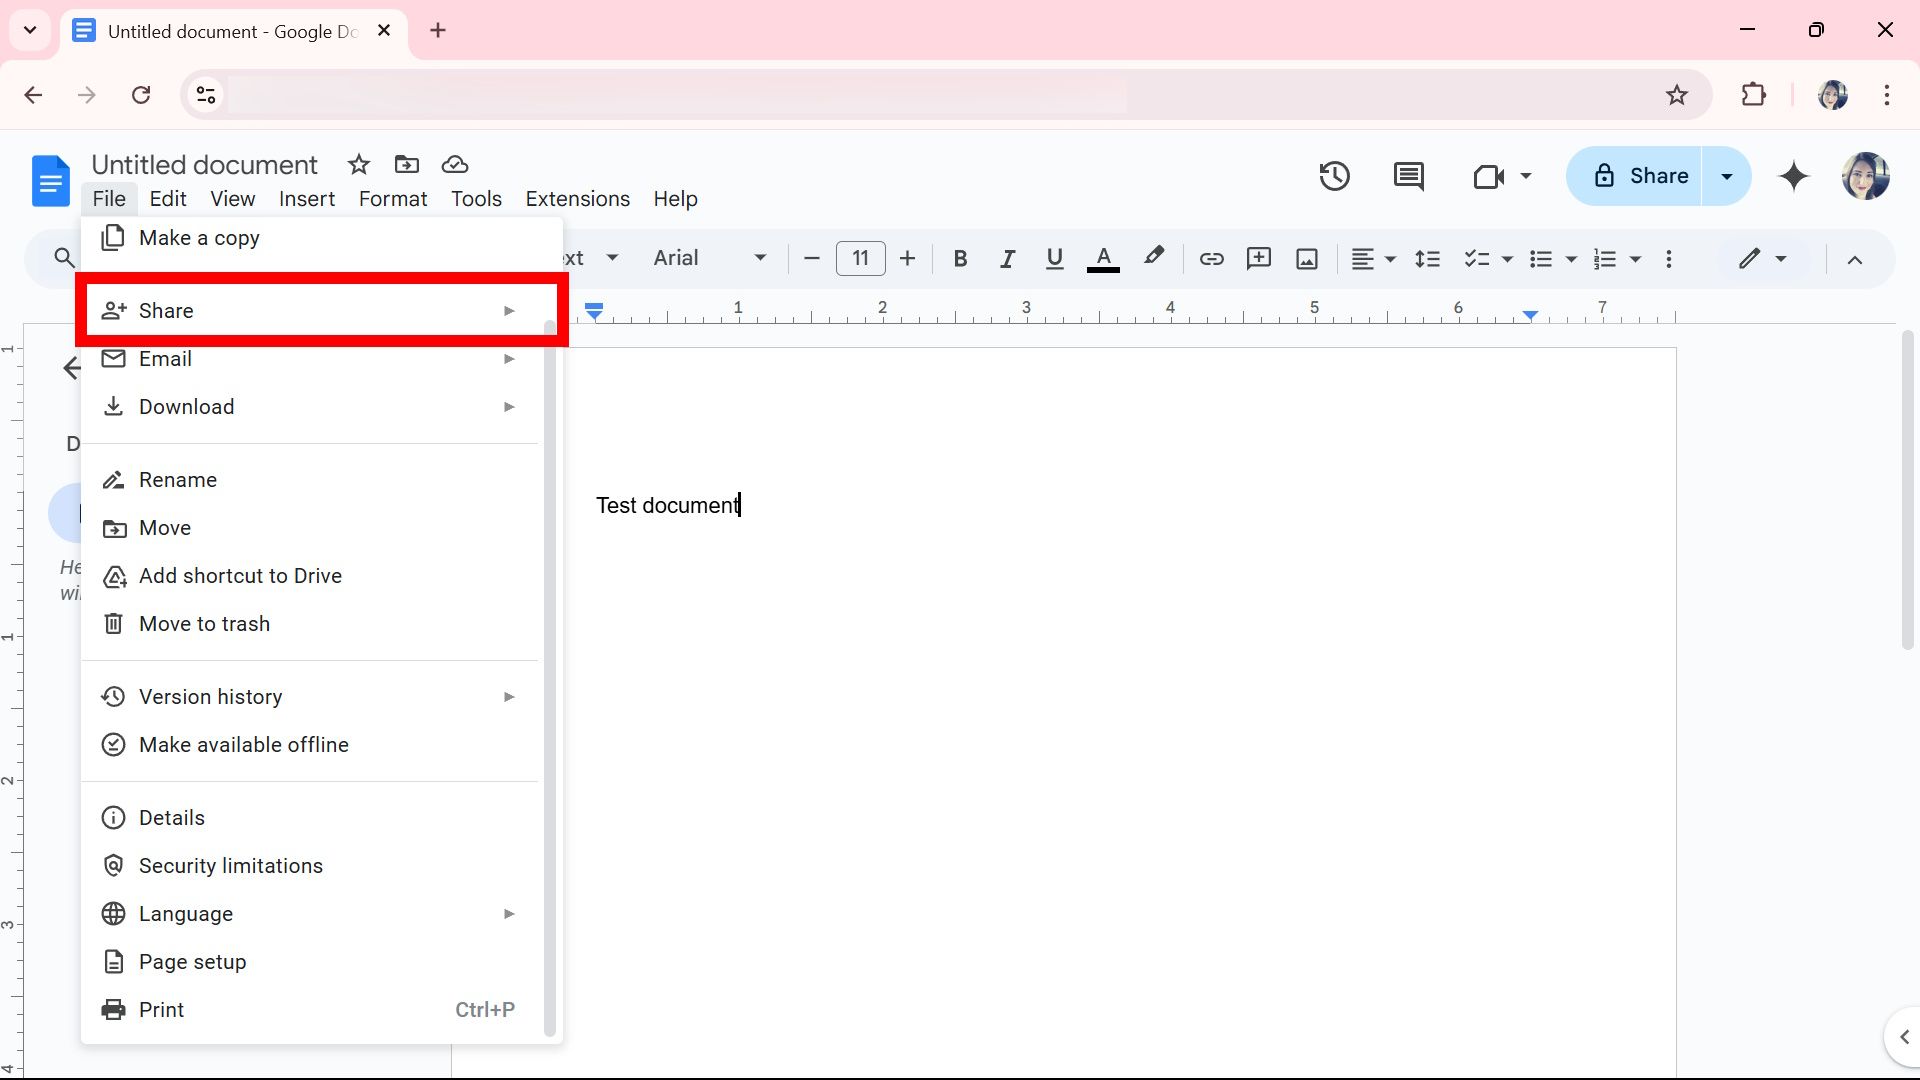
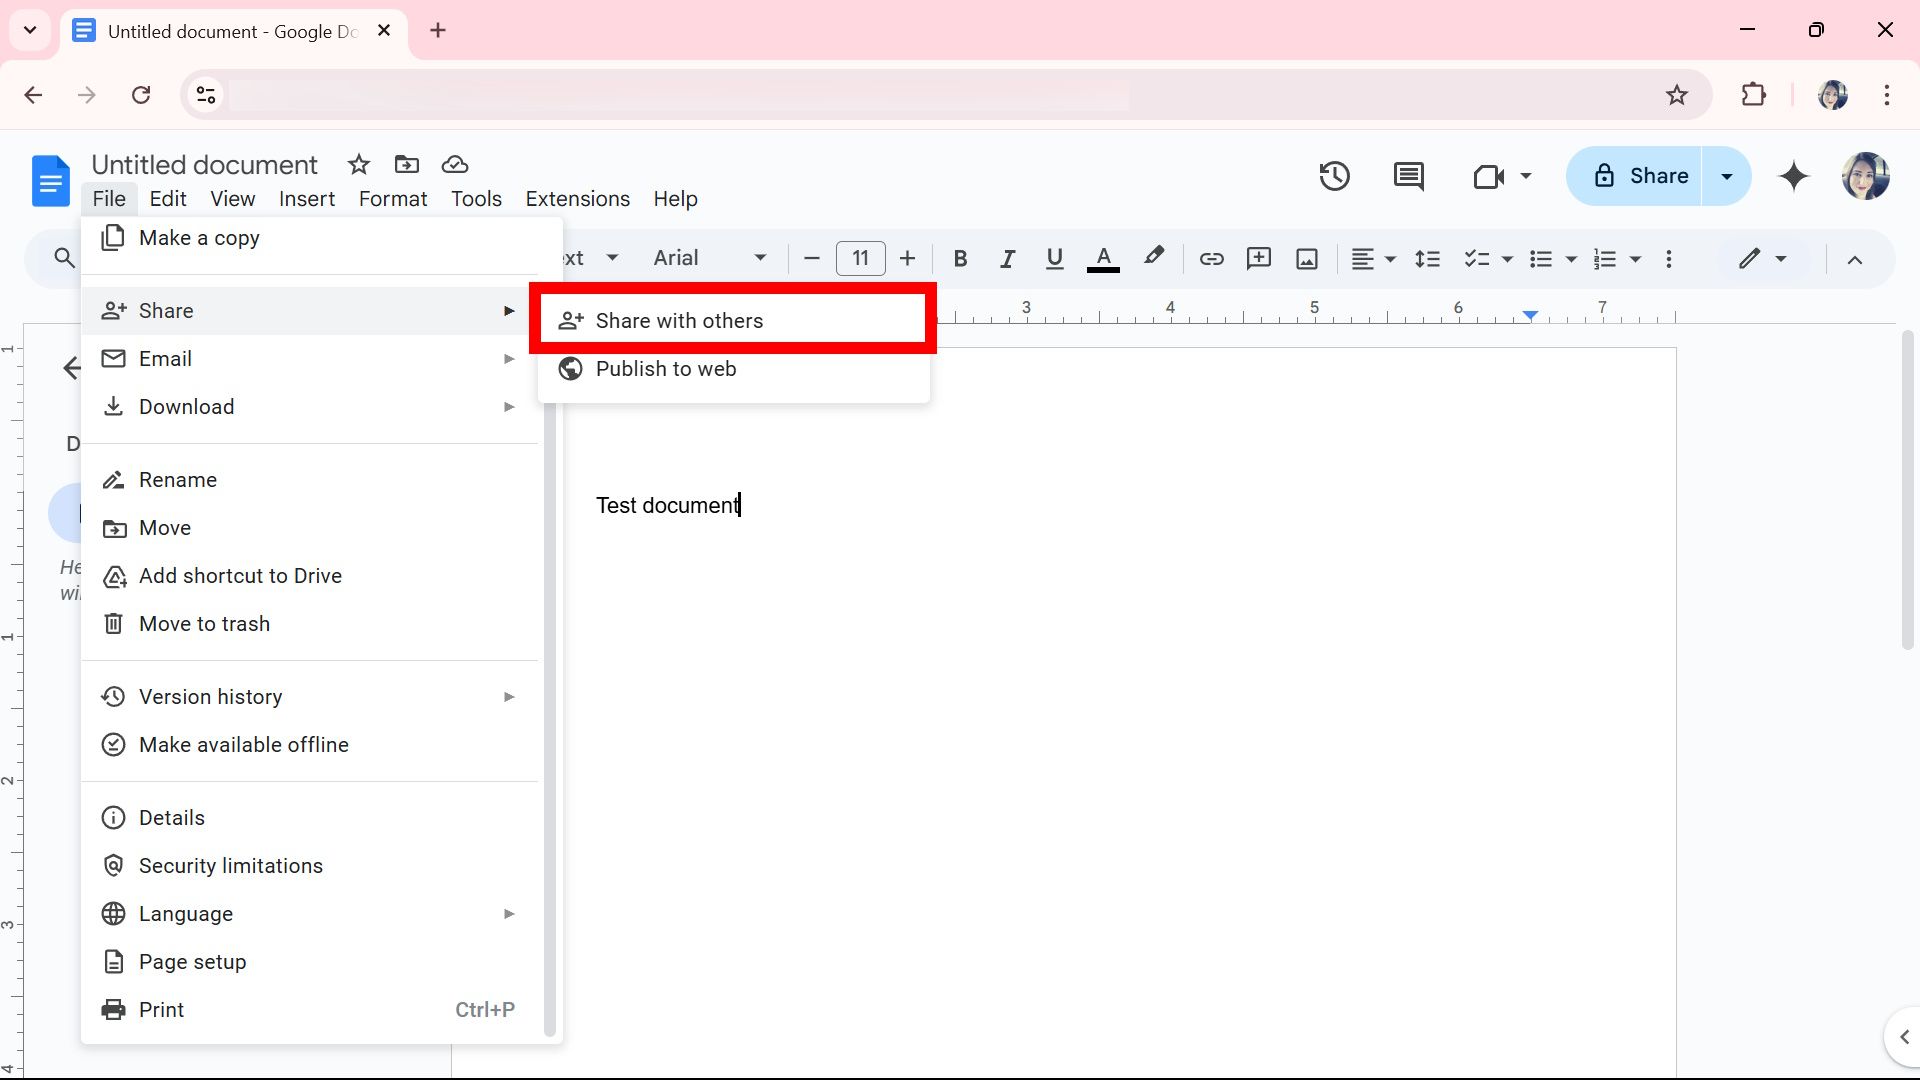
Navigate to File > Share.
-
Click Share with others.
-
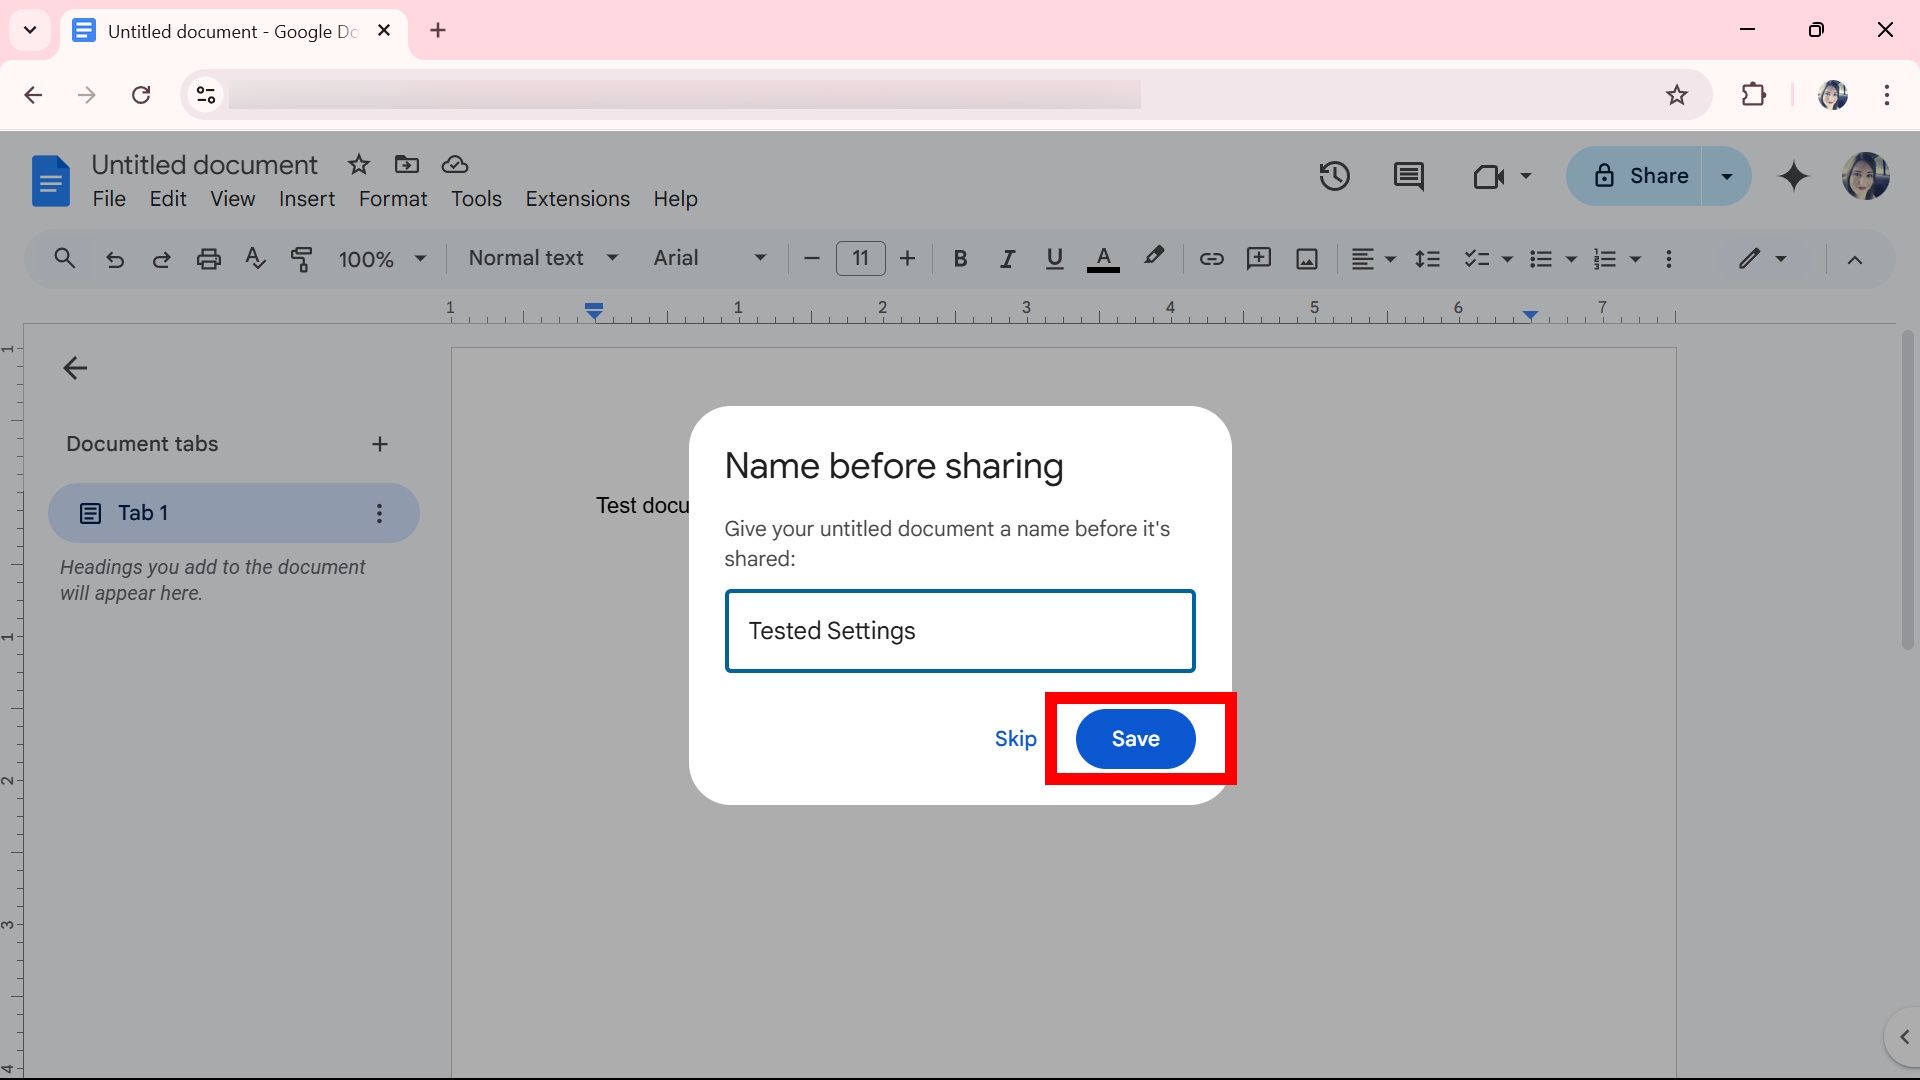
Name your document inside the text field and click Save.
-
Add people, groups, and calendar events inside the text field, or click the Anyone with the link option under the General access dropdown.
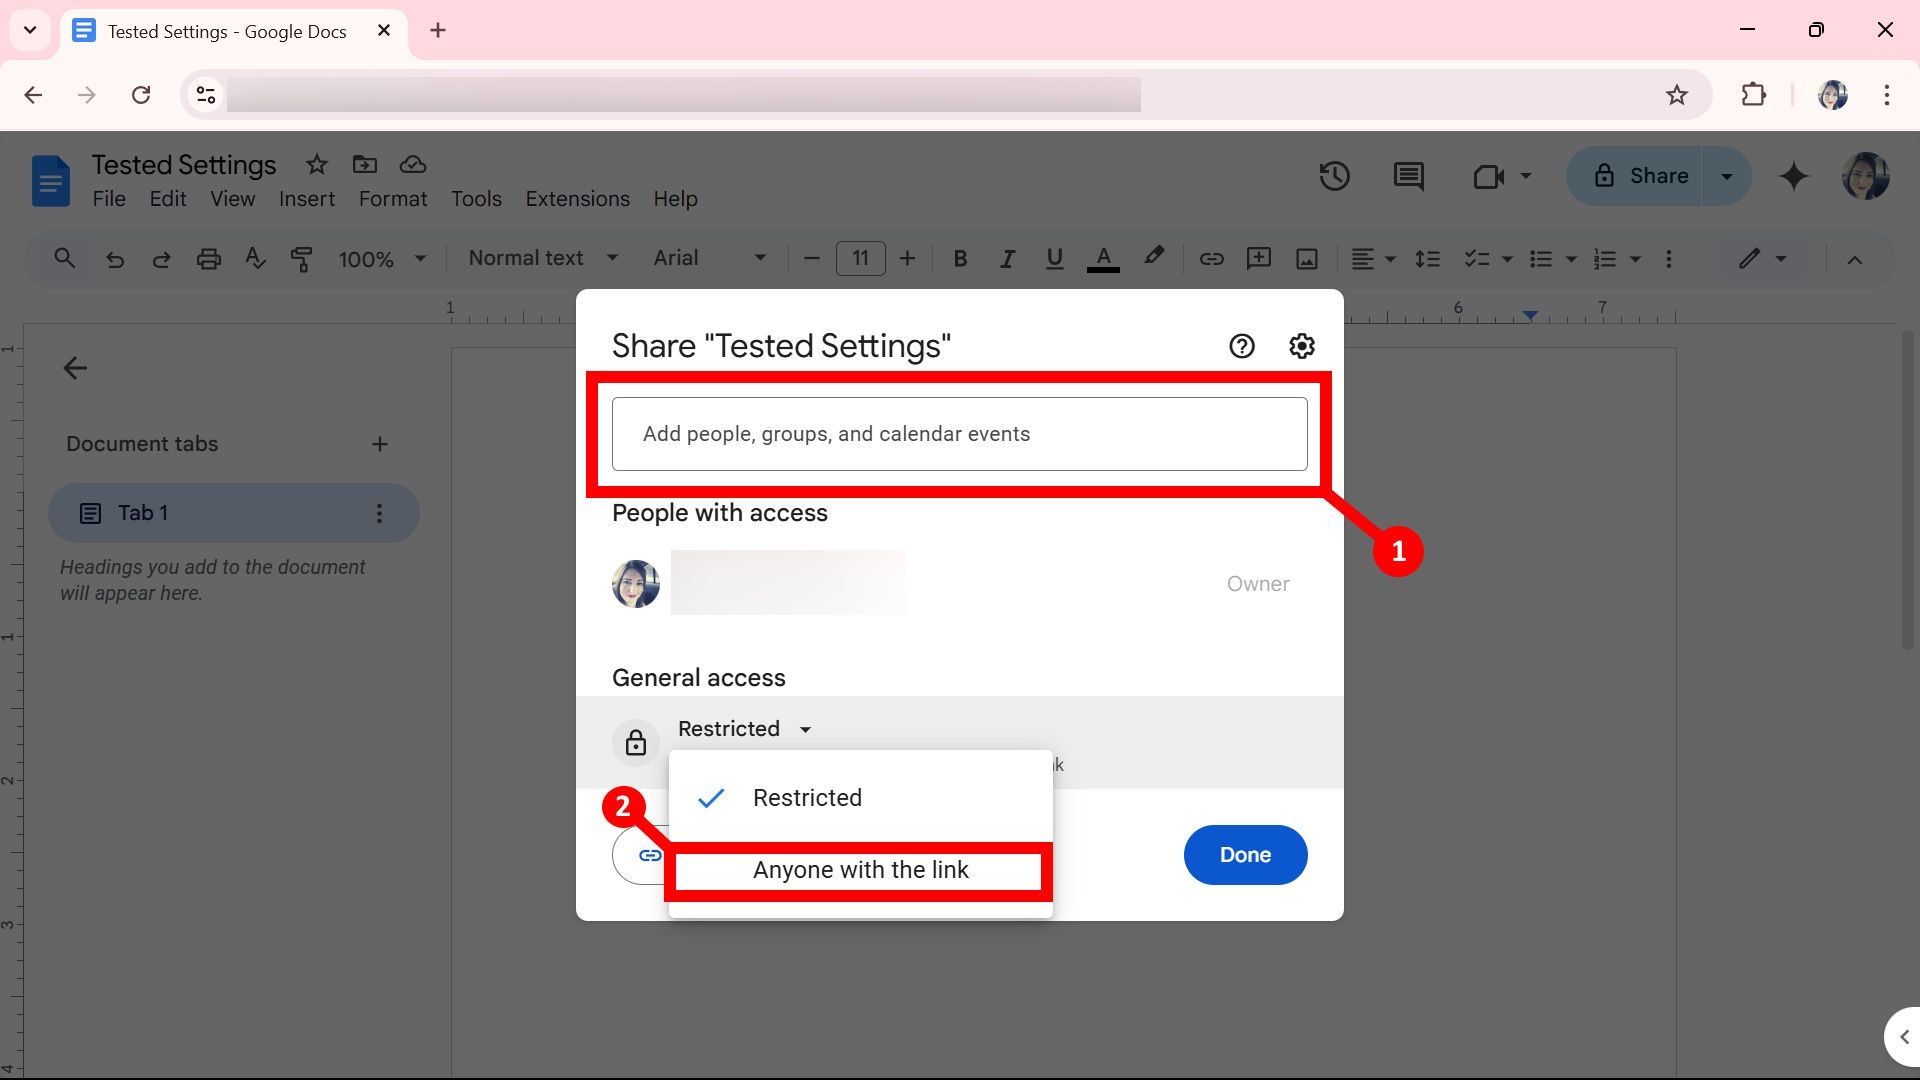
- Click Done.


If selecting Anyone with the link option, you can change the role using the dropdown to Viewer, Commenter, or Editor. Google Docs selects Viewer by default. Remember, anyone with the link will have these permissions.
You can also navigate to the top-right corner next to your Google account profile and click the Share button to change the permissions. The button is also on the mobile app next to the More menu.
5
Set up a document template
Don’t start from scratch unless needed
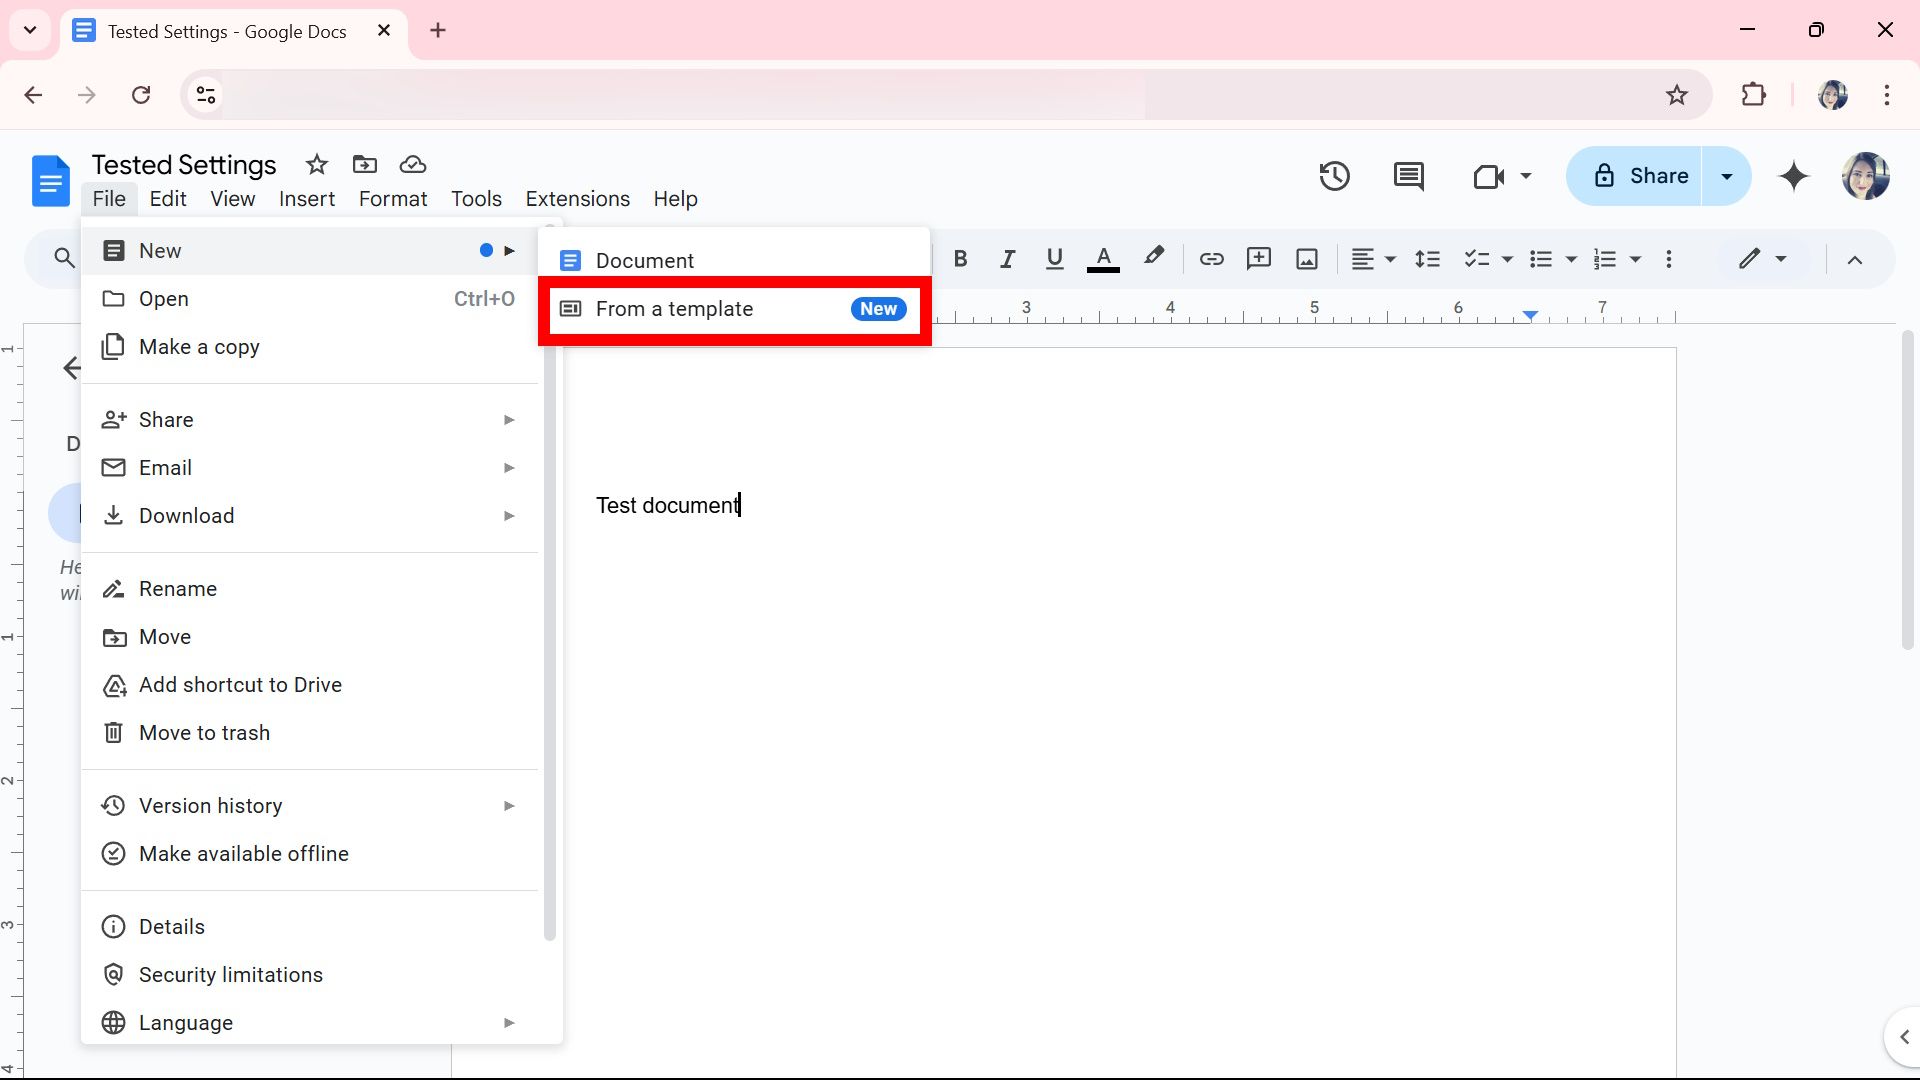
You can save loads of time and effort by using a template. Google Docs offers various templates that are suitable for the type of file you’re working on; if you’re trying to use Google Docs as a project roadmap or one focused on writing a press release, you can select a template to help. These templates are all customizable, so even if you don’t find the perfect one, start with a template and tweak it as your own. To set up a Google Docs template, go to:
- Open Google Docs.
-
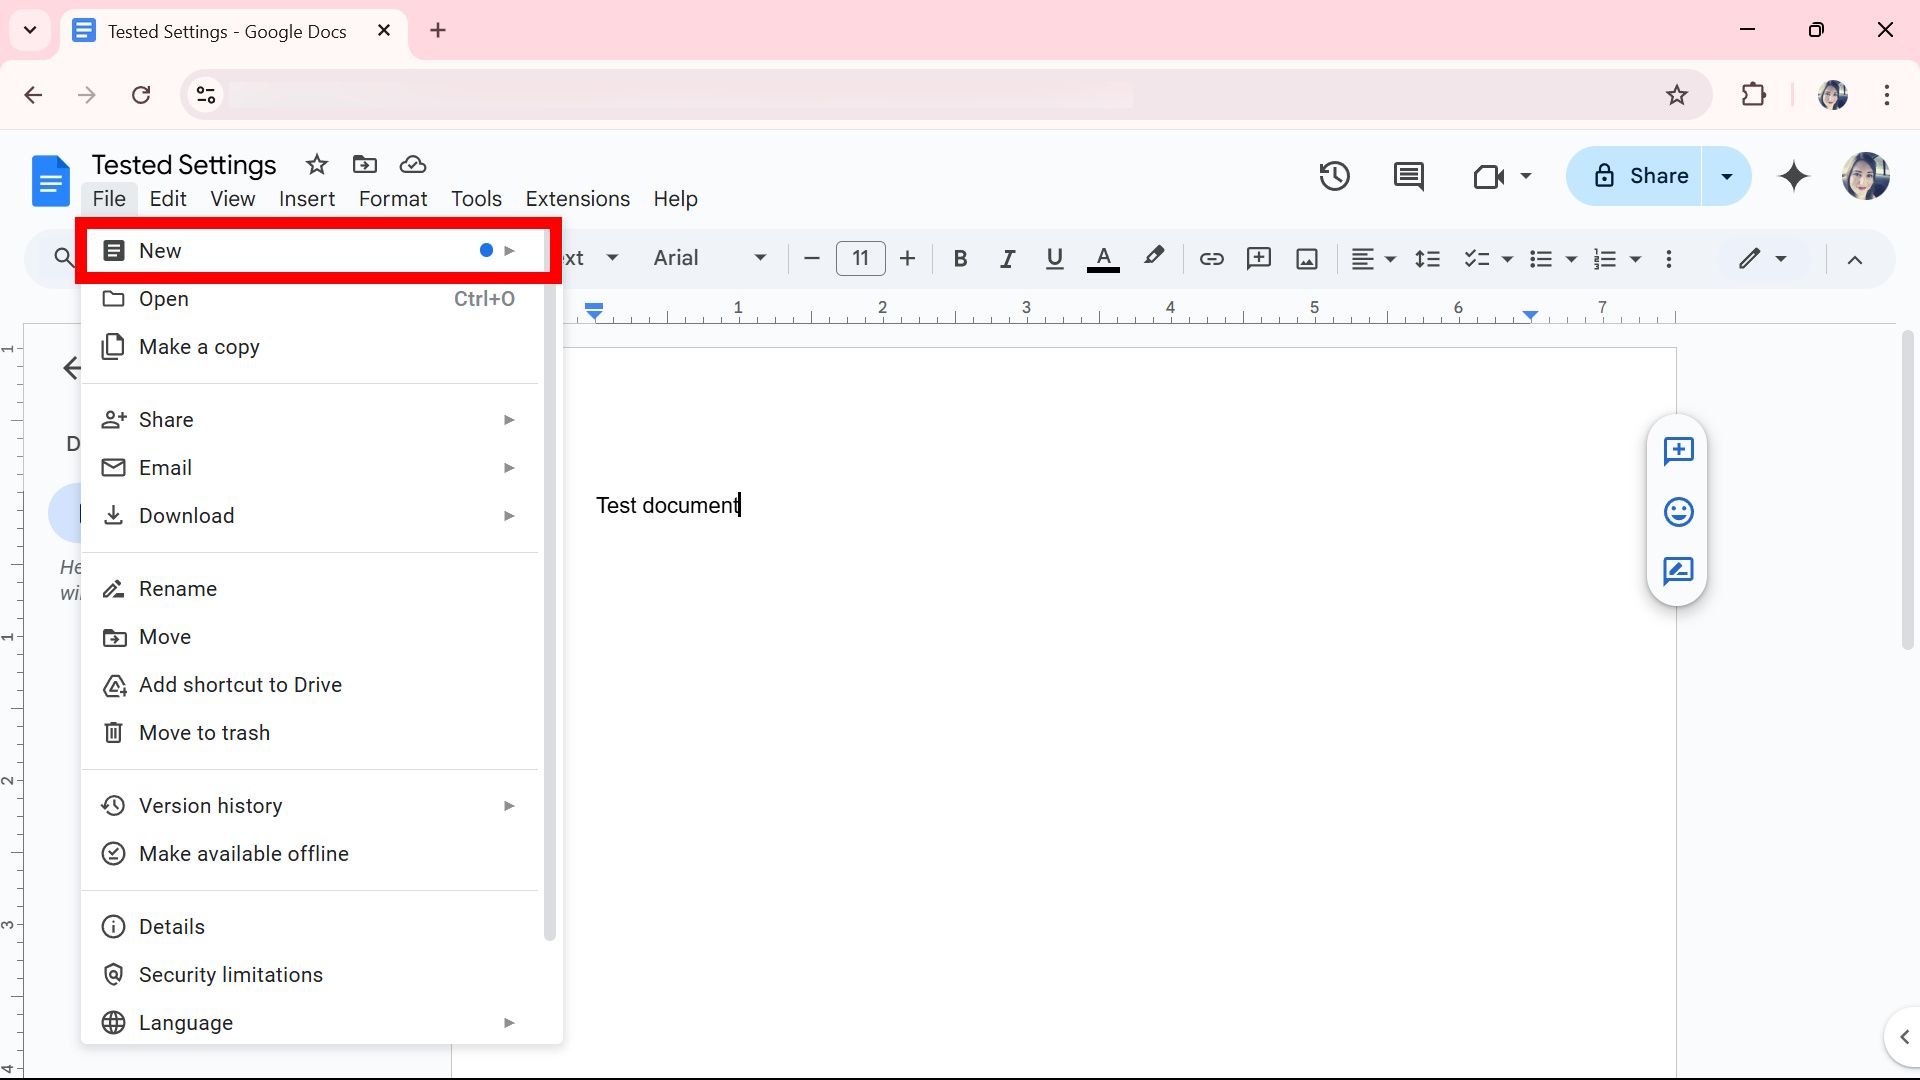
Click File > New.
-
Select From a template.
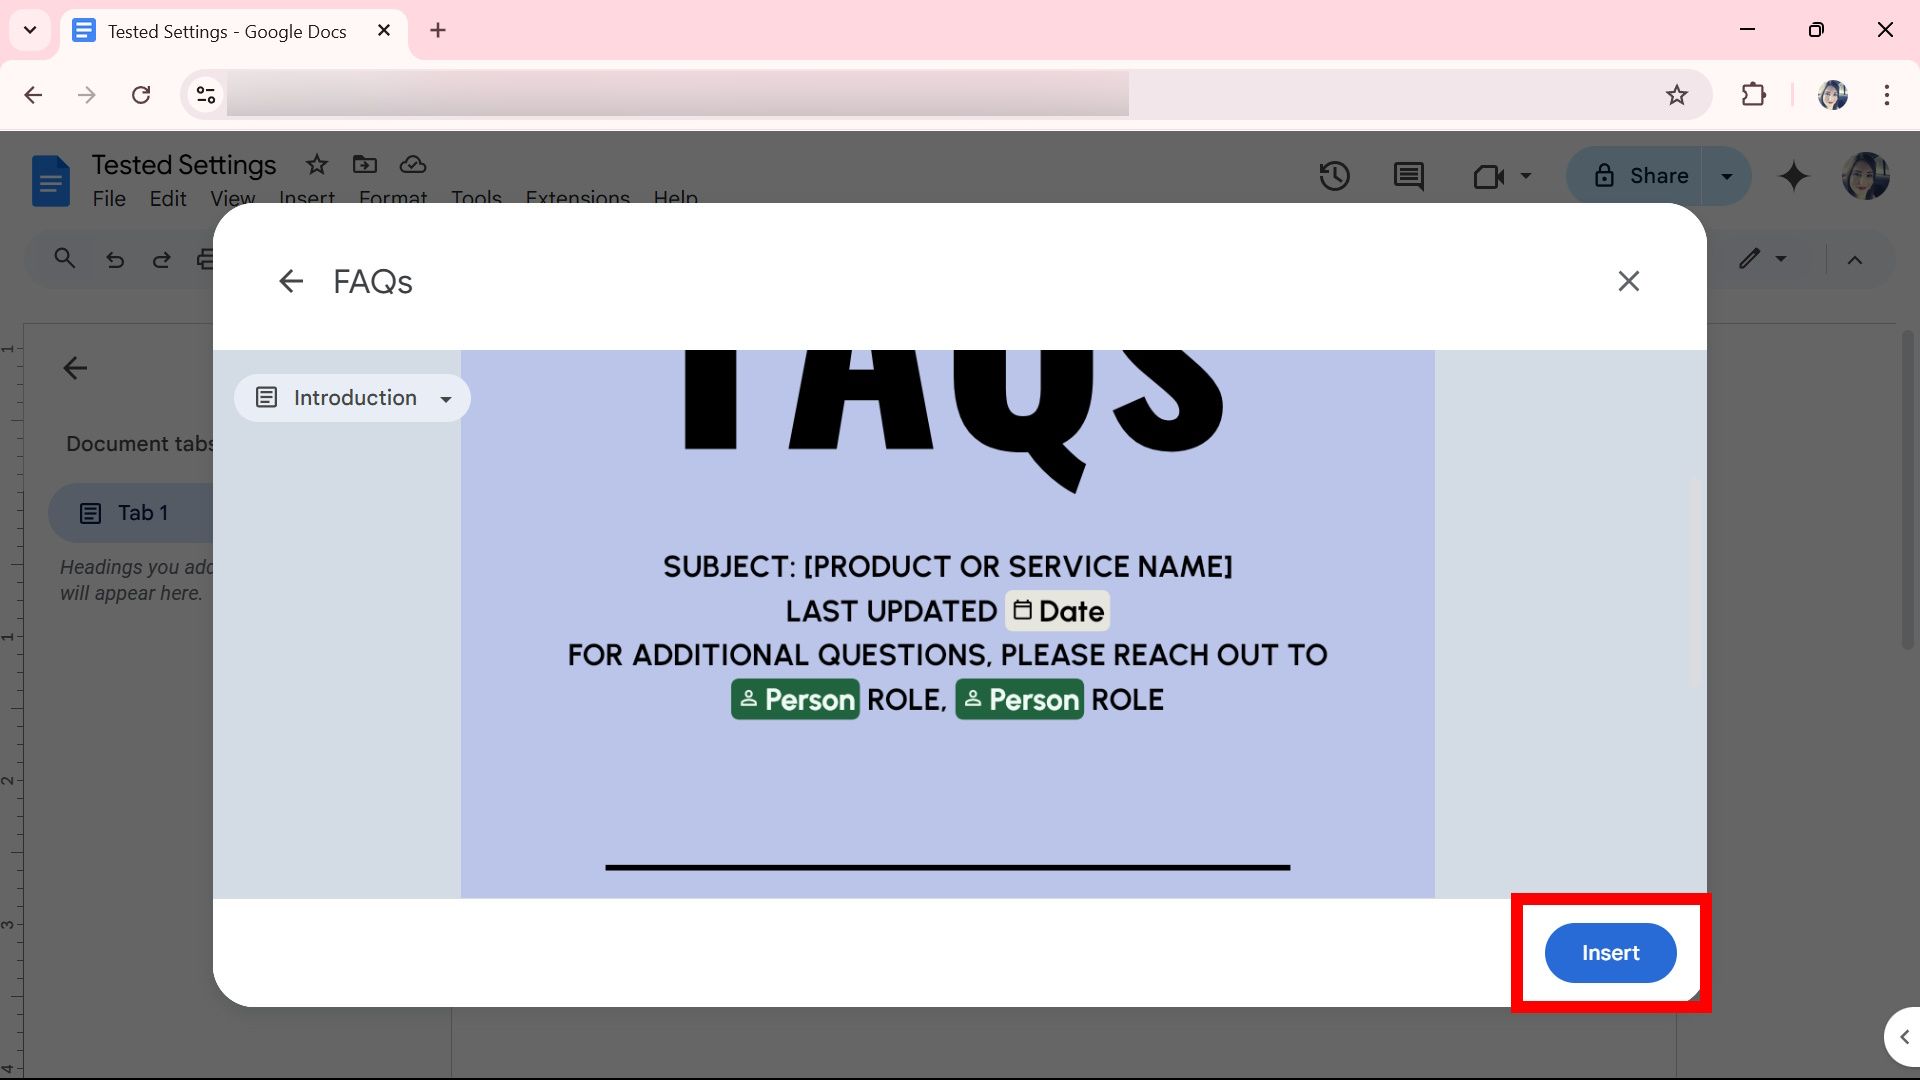
- Choose a template from this list.
-
Click Insert.


4
Change the Google Doc page settings
Set up the page for appropriate viewing
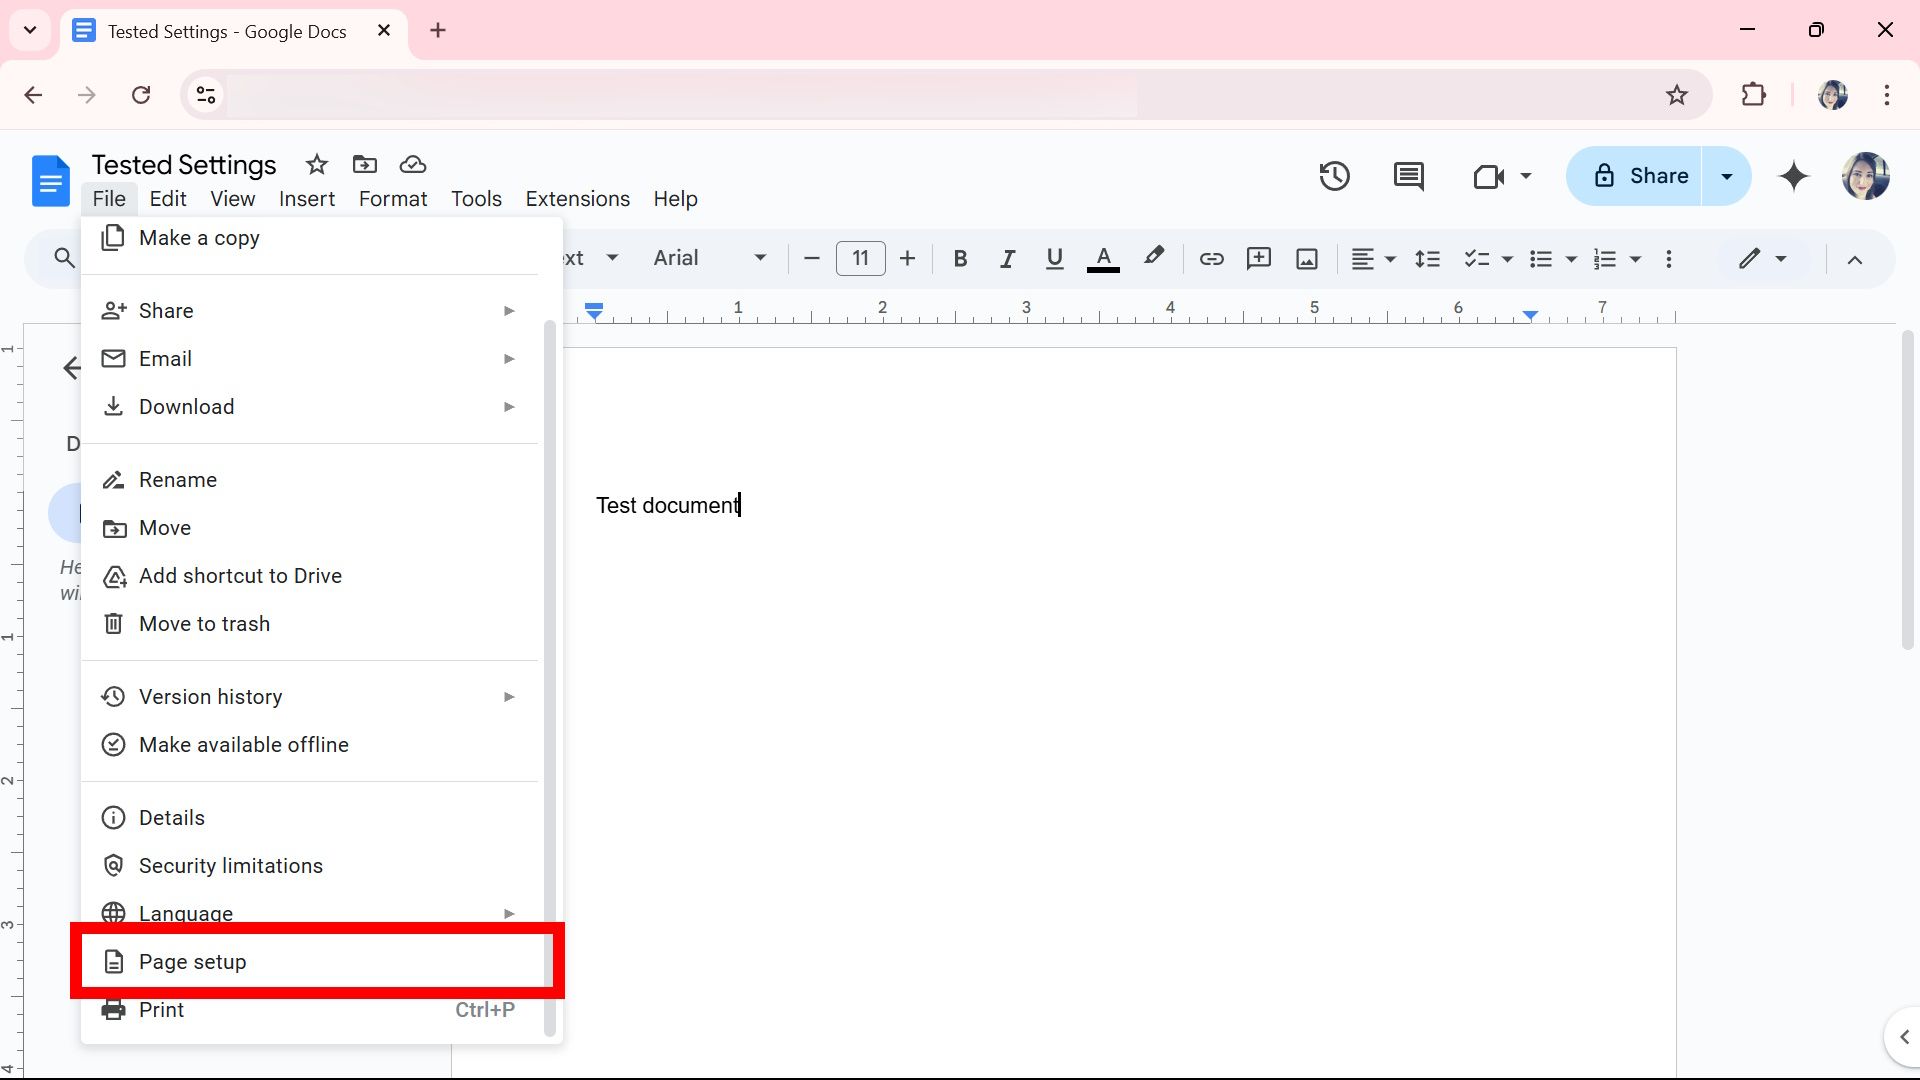
You can change the Google Doc’s page to landscape or set it to pageless to allow wider images and tables without breaking the page. It becomes useful when you share snippets of data without worrying about parts being sectioned off onto another page. Here’s what you can do to change the Google Docs page setup:
- Open Google Docs.
-
Navigate to File > Page setup.
- Click Pages or Pageless tab.
- Select the options you want to add or change.
-
Click Ok.
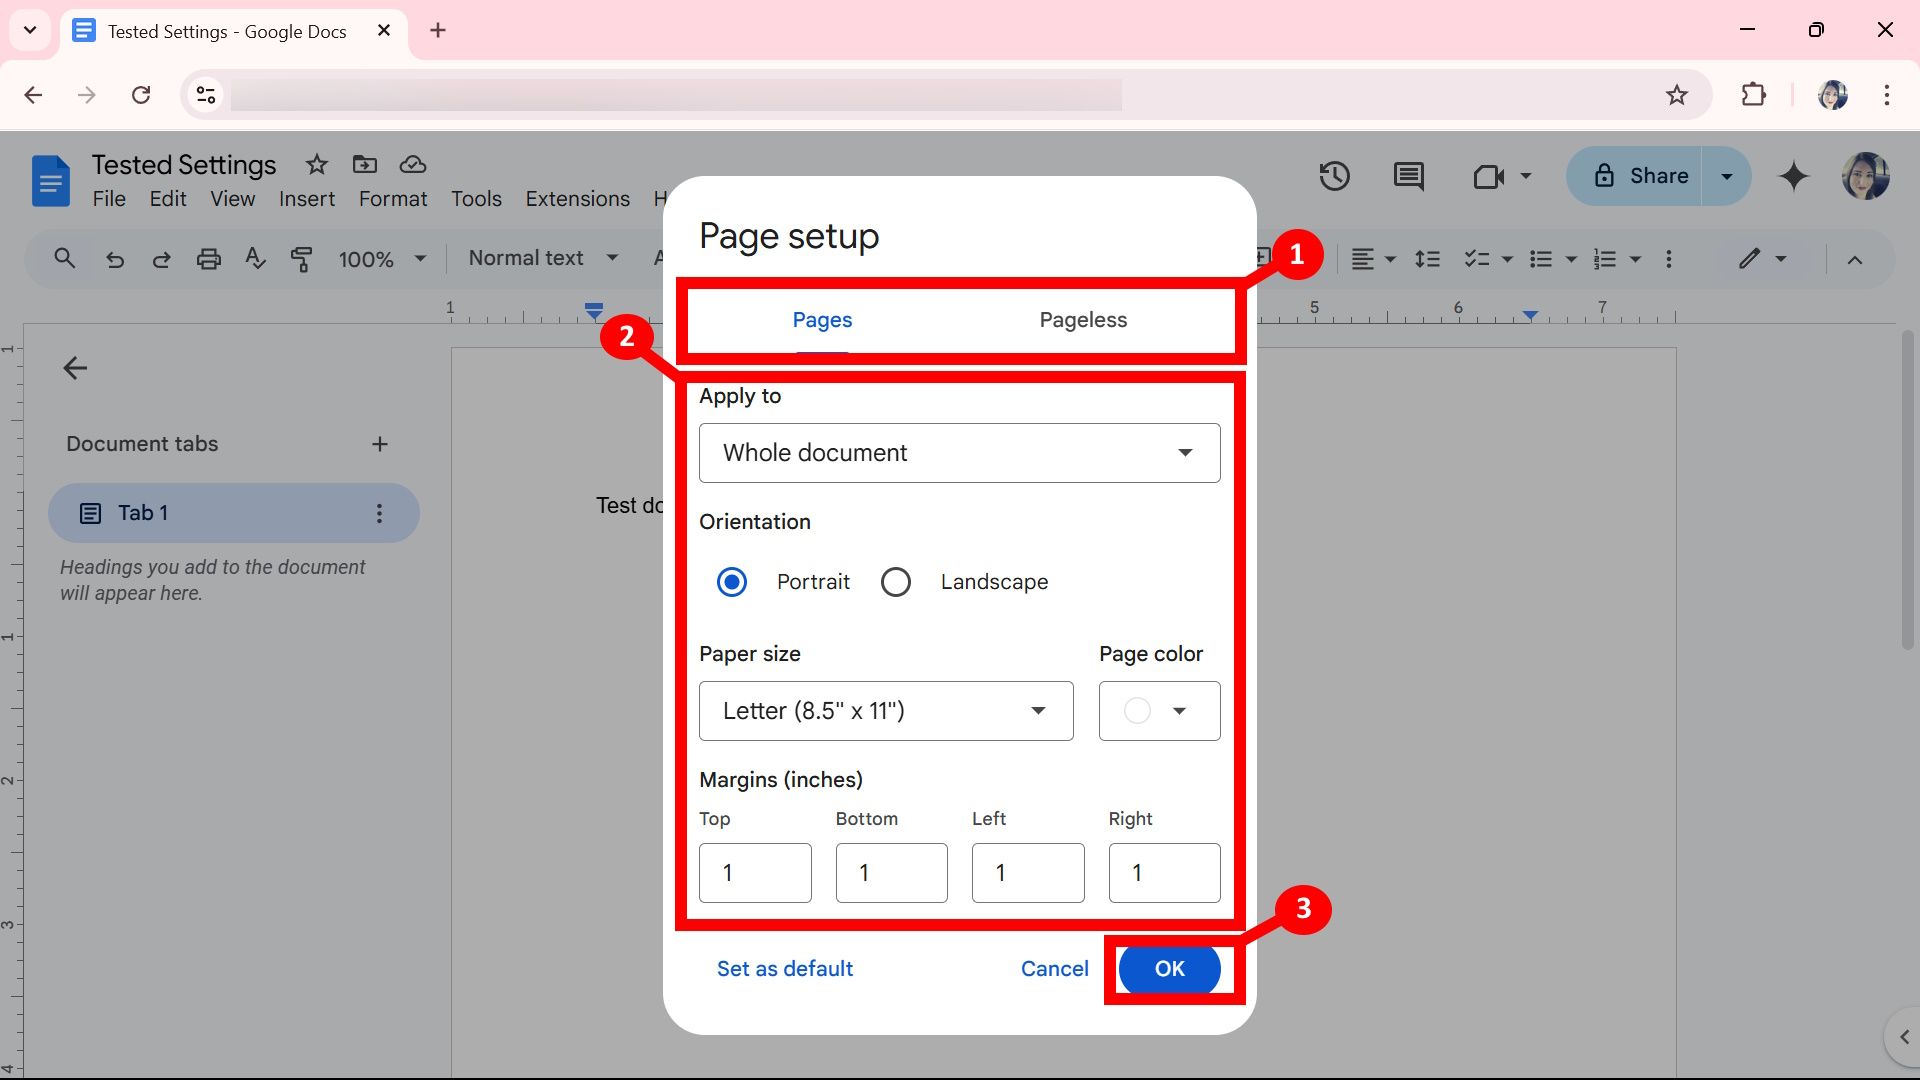


You can apply these changes to your whole document or a single section. If you also know you will work on a series of documents in the same format, you can select the Set as default option to have Google Docs open a new document using that format.
3
Set up the default formatting settings
You can save time by changing the default formatting settings. When you open a new document, the default settings, such as font style and background color, are applied automatically. You can modify and save any of these elements and use them when necessary. It’s beneficial when you need to place headers in a specific size and color while keeping them consistent. You can easily specify these changes using the default formatting settings. Here’s how to do it.
Set a default style in Google Docs
- Open Google Docs.
-
Click Format.
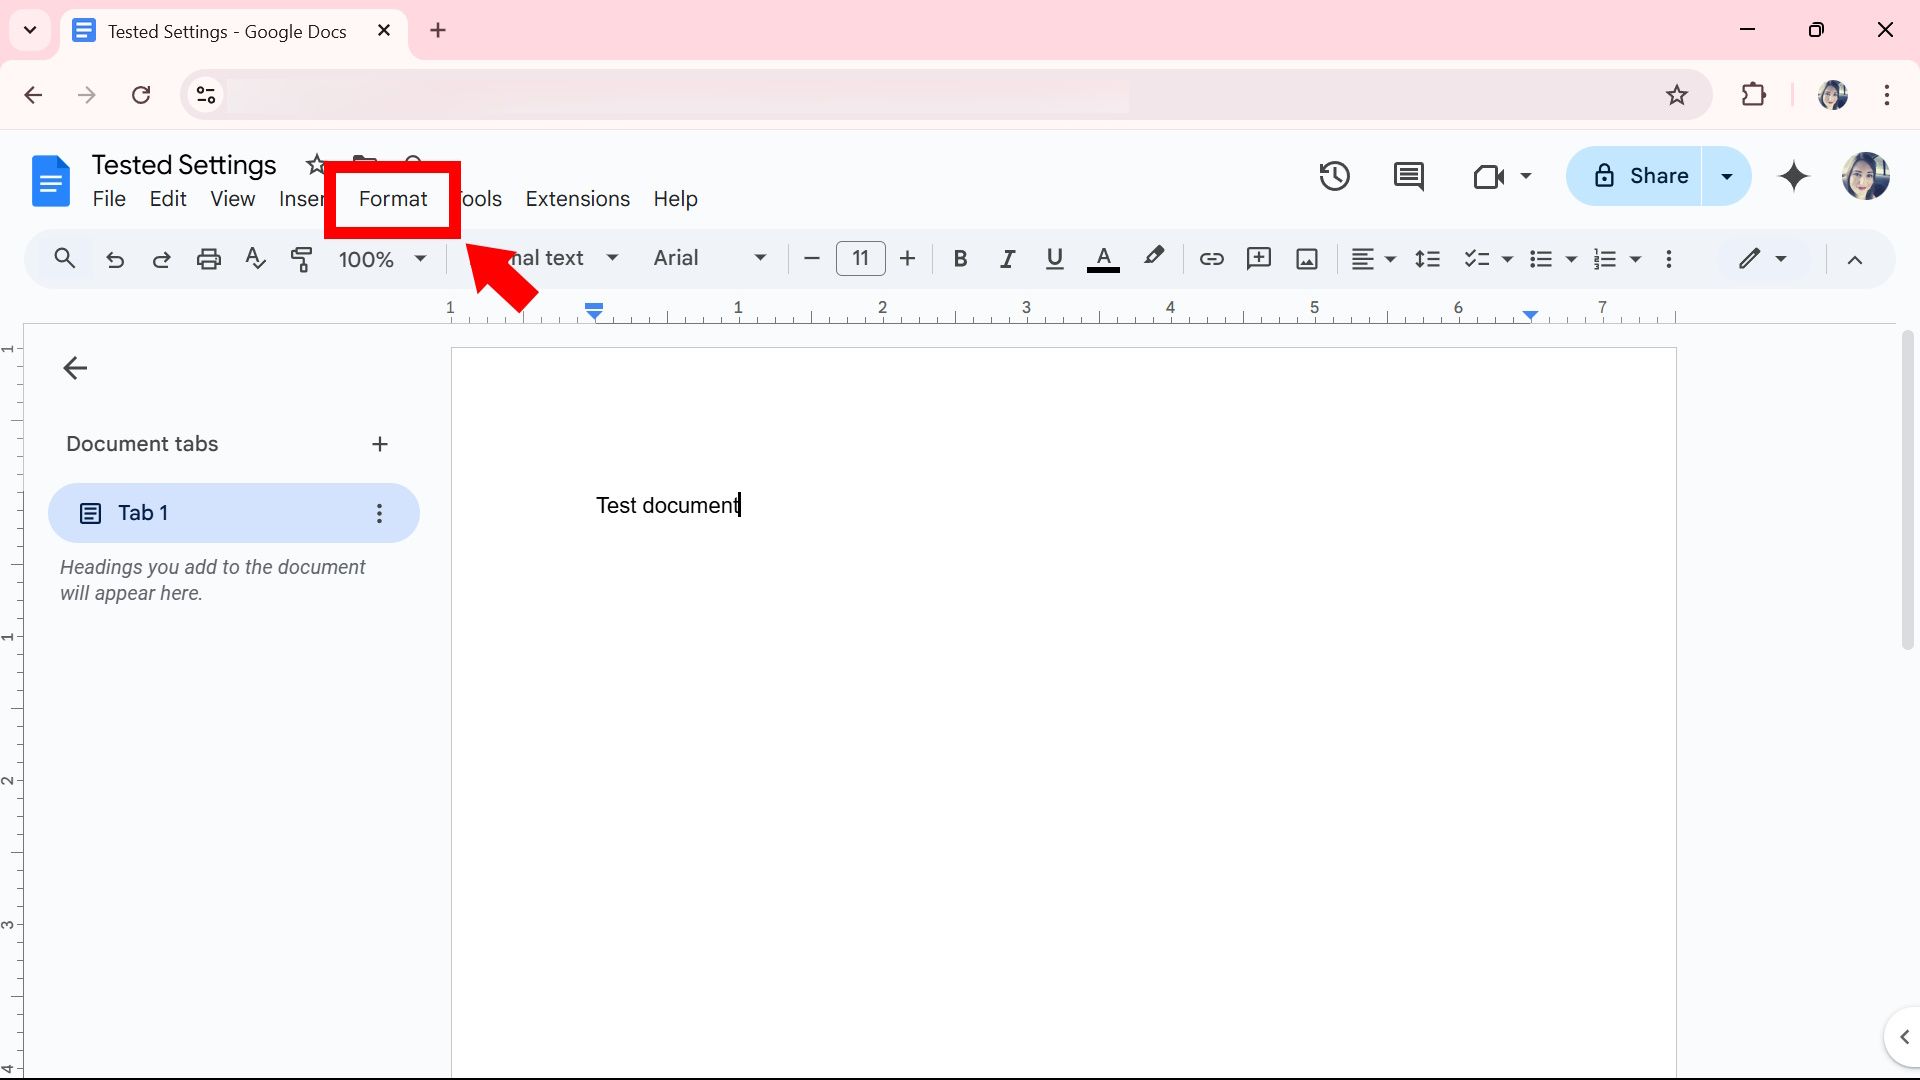
-
Select Paragraph styles > Options.
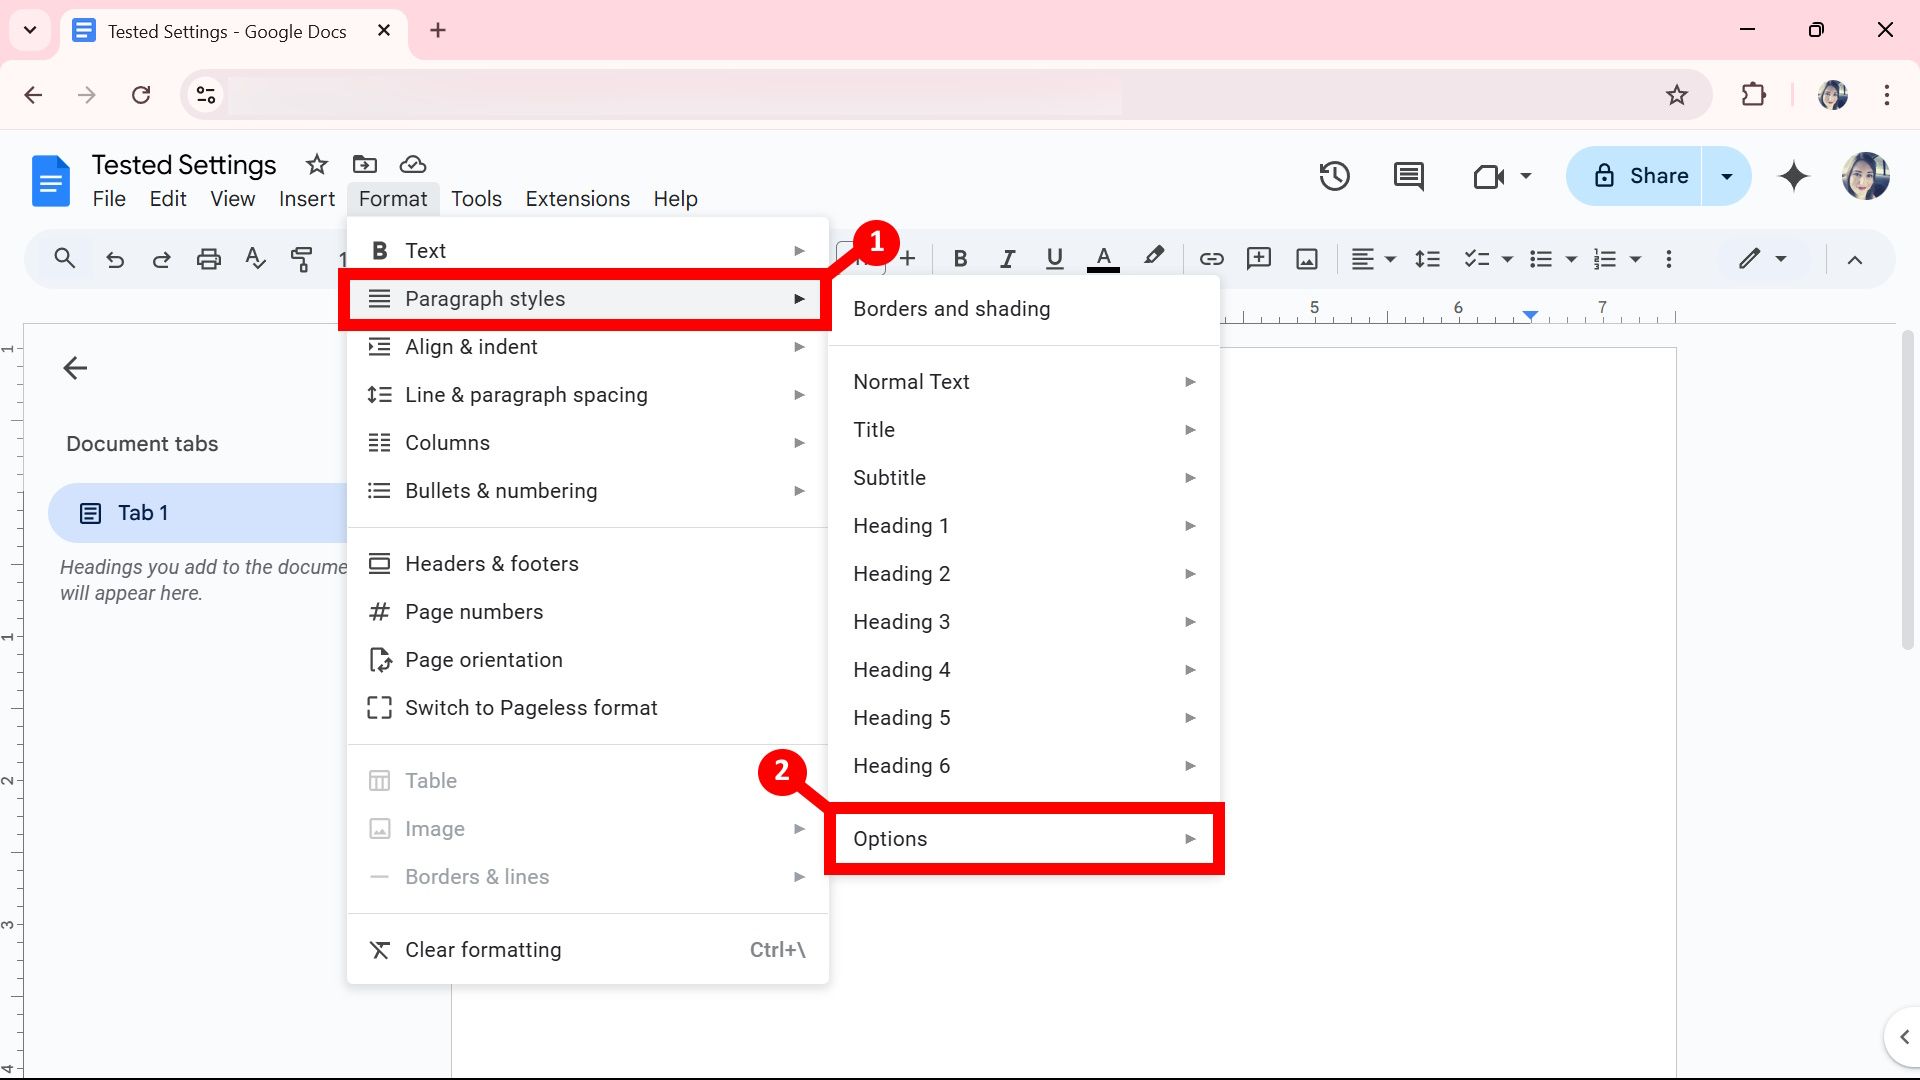
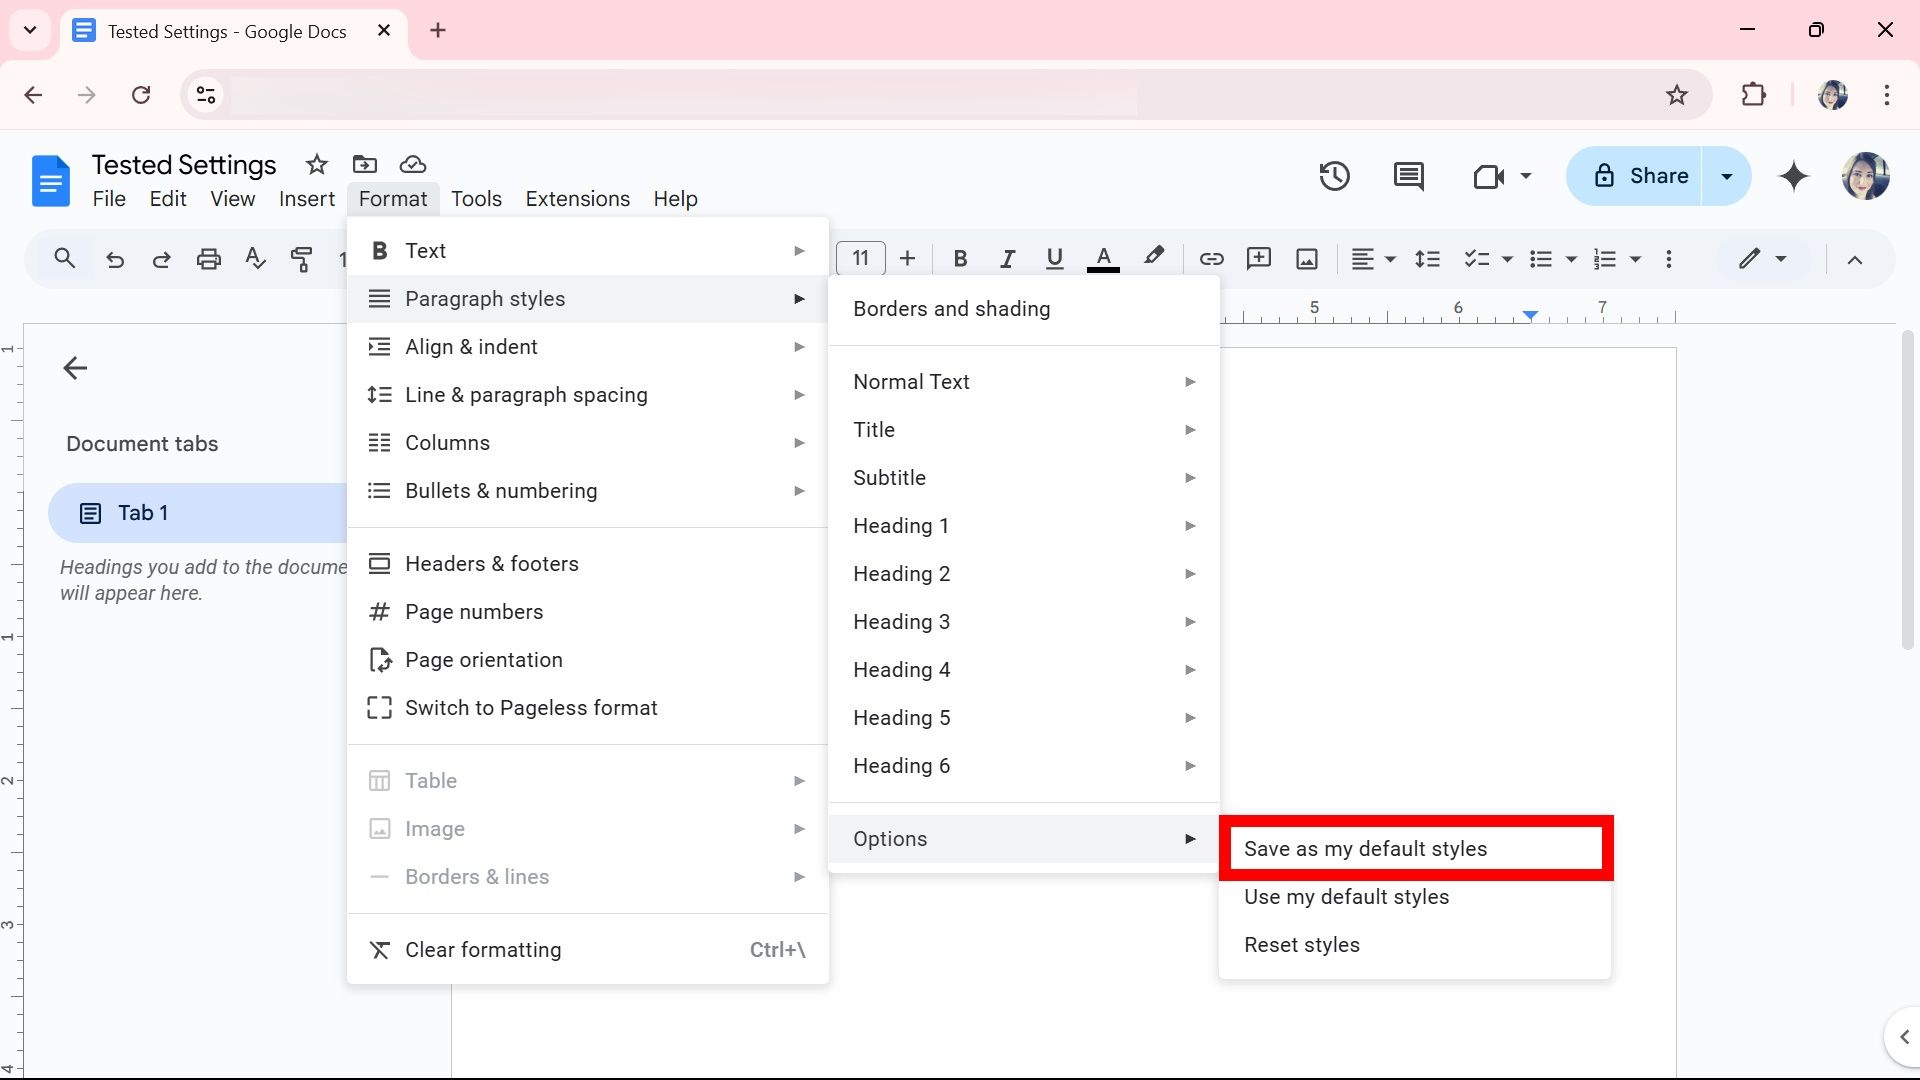
-
Click Save as my default styles.


To apply the default style, go to:
-
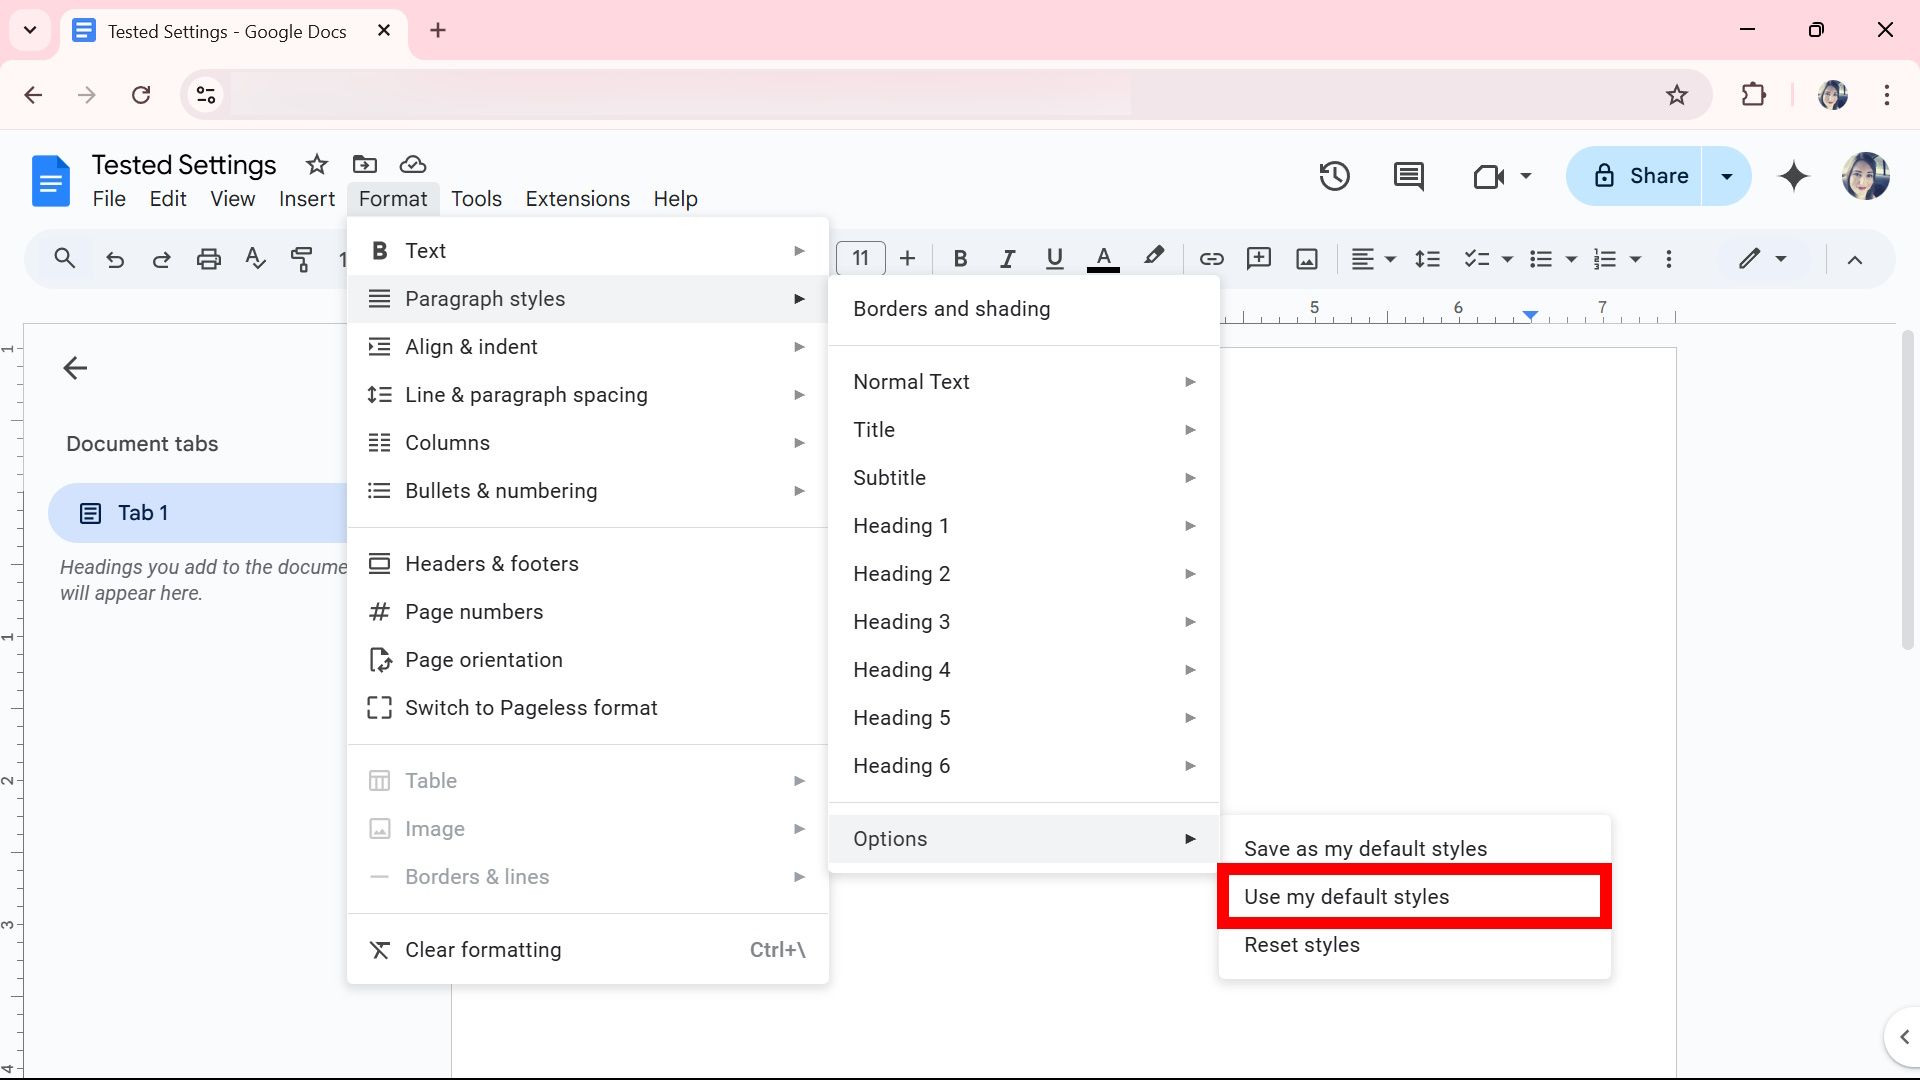
Select Format.
-
Choose Paragraph Styles > Options.
-
Click Use my default styles.

Create a custom text style in Google Docs
- Open Google Docs.
- Type or highlight text anywhere in the document.
- Change the text’s font, size, or color.
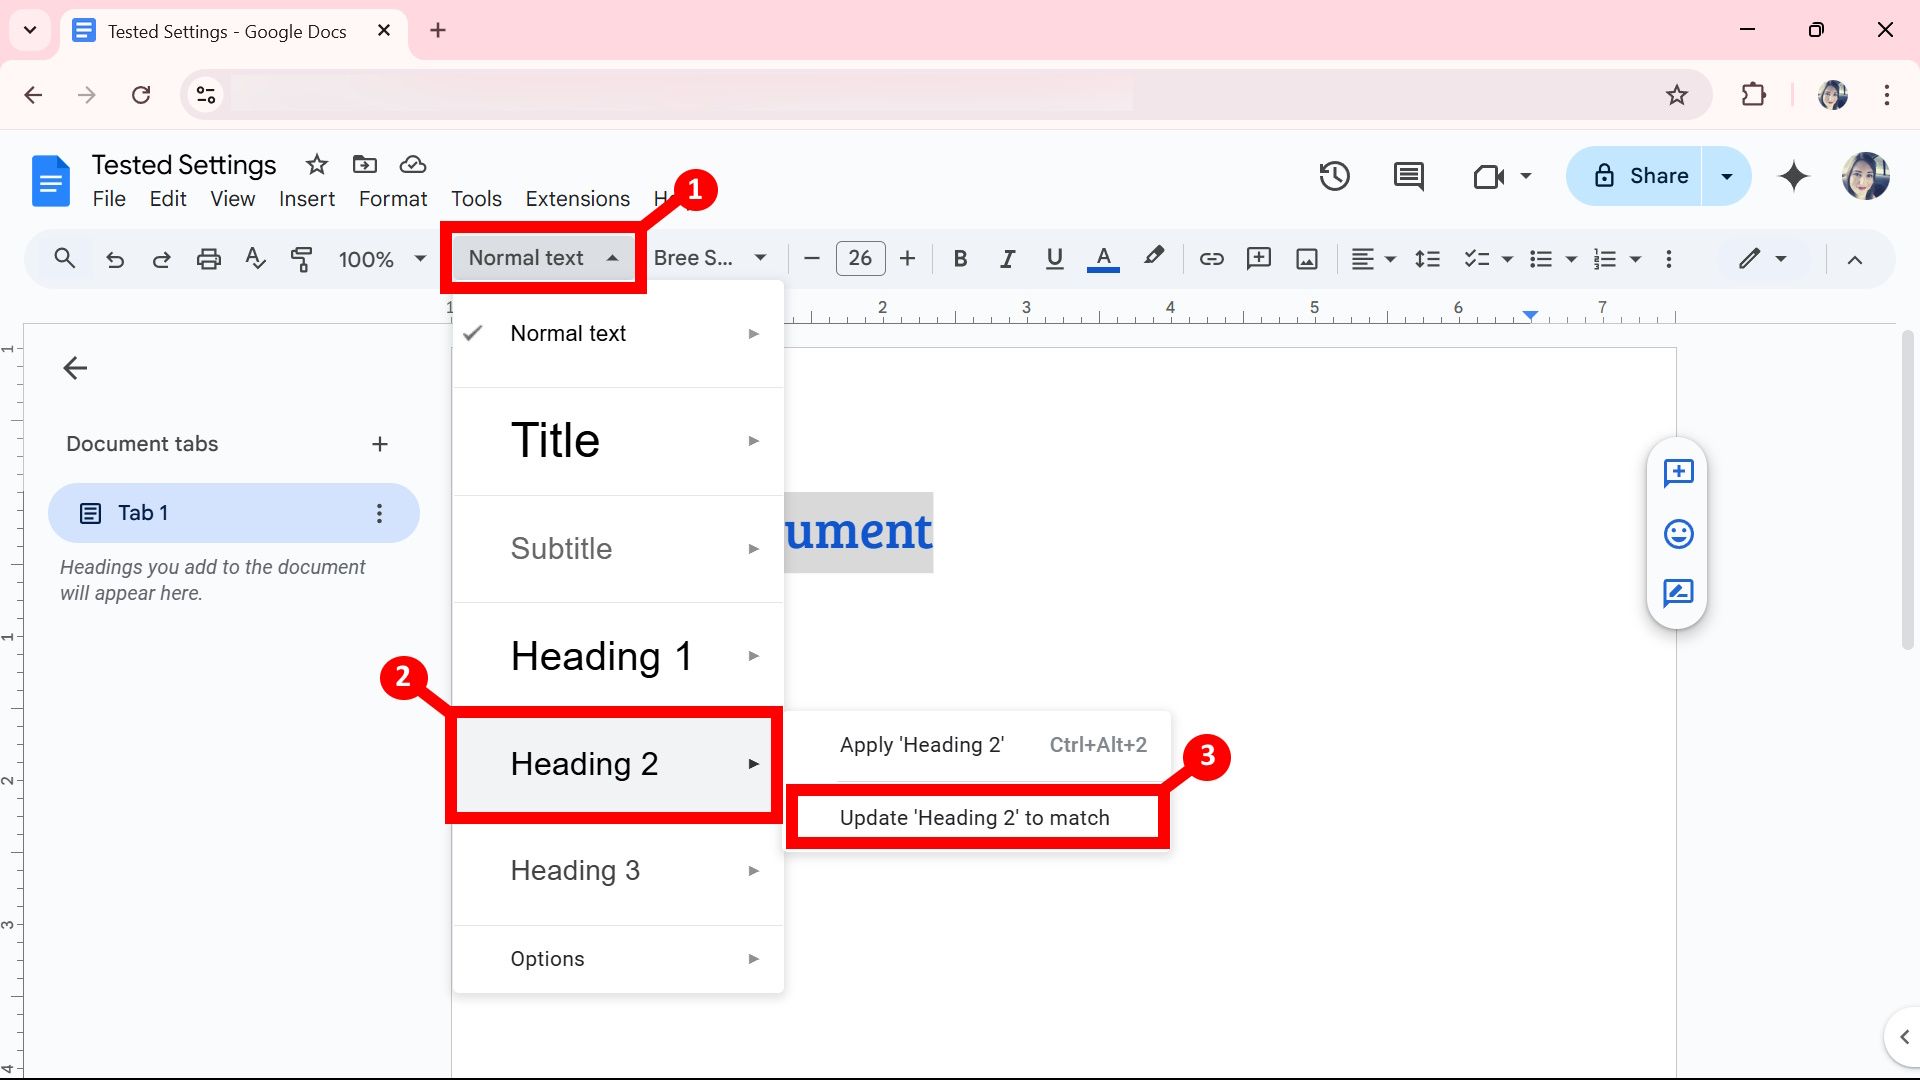
-
Select a style from the format toolbar and click Update ‘Header 2’ to match. Note that it can be any style; we used Header 2 as an example.

2
Change your Google Docs preferences
Stay consistent with spelling and language
Before adding to your Google Docs document, we recommend changing preferences so you can keep the format consistent and enable tools that help with writing, such as correct spelling and smart compose. You can do this by visiting Tools > Preferences. We recommend turning on/off the following:
- Turn off smart quotes
- Enable automatically detect links
- Turn on automatically correct spelling
- Enable Smart Compose and Smart Reply suggestions
- Turn on Markdown language
If you struggle with the correct spelling preference, like if you’re trying to write in UK English versus US English, you can specify your language settings by going to File > Language.
1
Enable Google Gemini to summarize the text
Become more productive with Gemini
If you are someone given a large document but need to skim through it before working on it, you can use Gemini to summarize the text. To enable Gemini, click the Gemini logo (which looks like a star) next to your Google account profile and click the Try it out button.

Related
5 Gemini tips to boost your research and writing in Google Docs
Reimagine your boring docs with a touch of Gemini
Once you’ve set up Google Gemini, you can summarize the text. To do this, click anywhere in your document and type @summary or @, then select Gemini summary underneath Building Blocks.
Tweak your Google Docs settings to suit your needs
Google Docs is an excellent alternative to Microsoft Word, and it doesn’t require anything but a working Gmail account and an initial online connection. It’s surprisingly effective as a project management tool. It can also be used for meeting notes, research, and agenda-making. It does have its quirks if you’re not used to the default setup. Thankfully, Google Docs has plenty of customization available at your fingertips.